Free Amigurumi Heart Pattern: Step By Step Tutorial
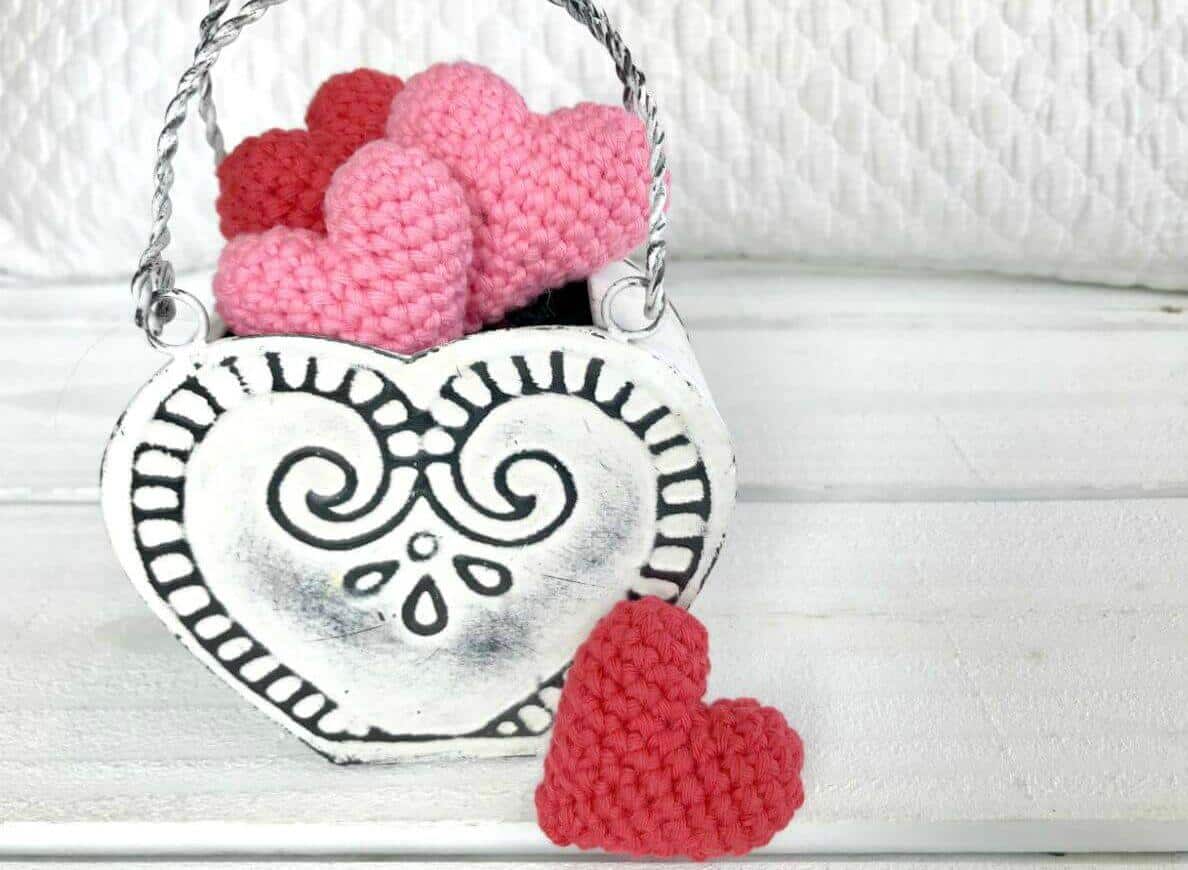
With Valentine’s Day coming up, I’ve got the perfect (& free!) amigurumi heart pattern for you. These little stuffed hearts are easy and adorable – my favorite kind of project! They work up quickly so you can make a whole bunch in no time.
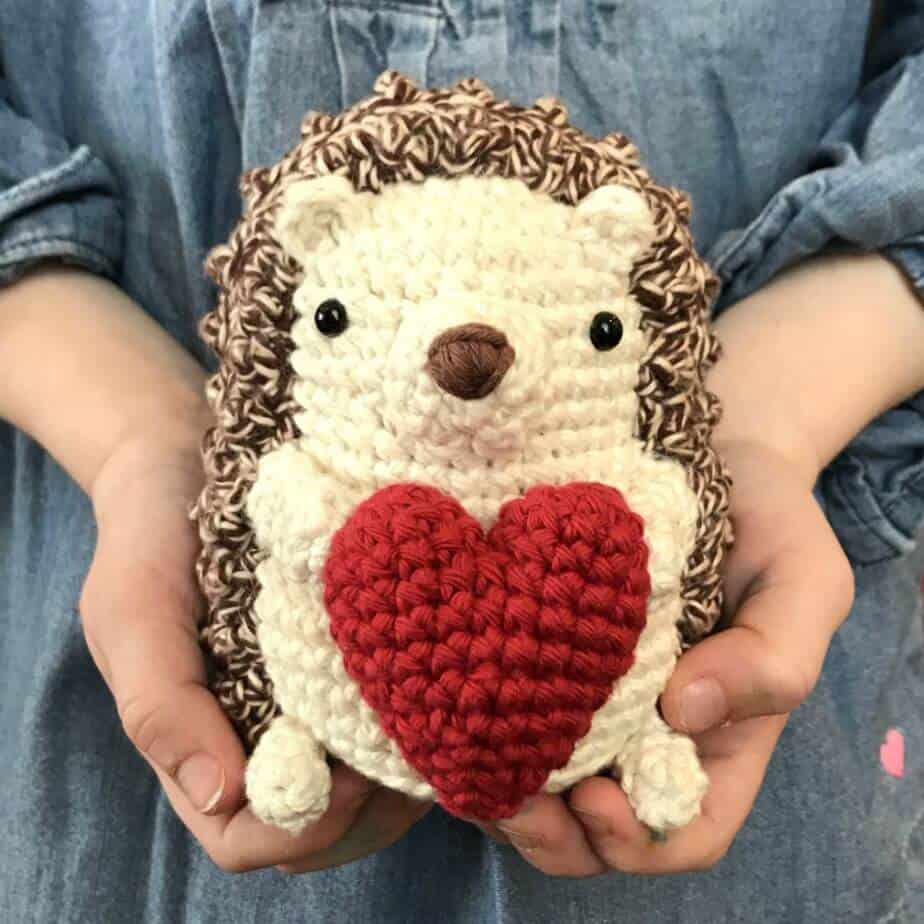
This pattern is so versatile, I’ve used it for this hedgehog valentine, these pocket hugs, a Christmas angel, and to make a mini garland for Valentine’s Day decor here at home.
You can make the heart in two sizes – the smaller size is about 1 3/4″ wide and the larger size is about 2 1/2″ wide (so they’re both pretty tiny).
This post contains affiliate links to products I recommend to my readers. If you click on one of these links and decide you’d like to make a purchase, I will make a small commission (at no extra cost to you).
Free Amigurumi Heart Pattern
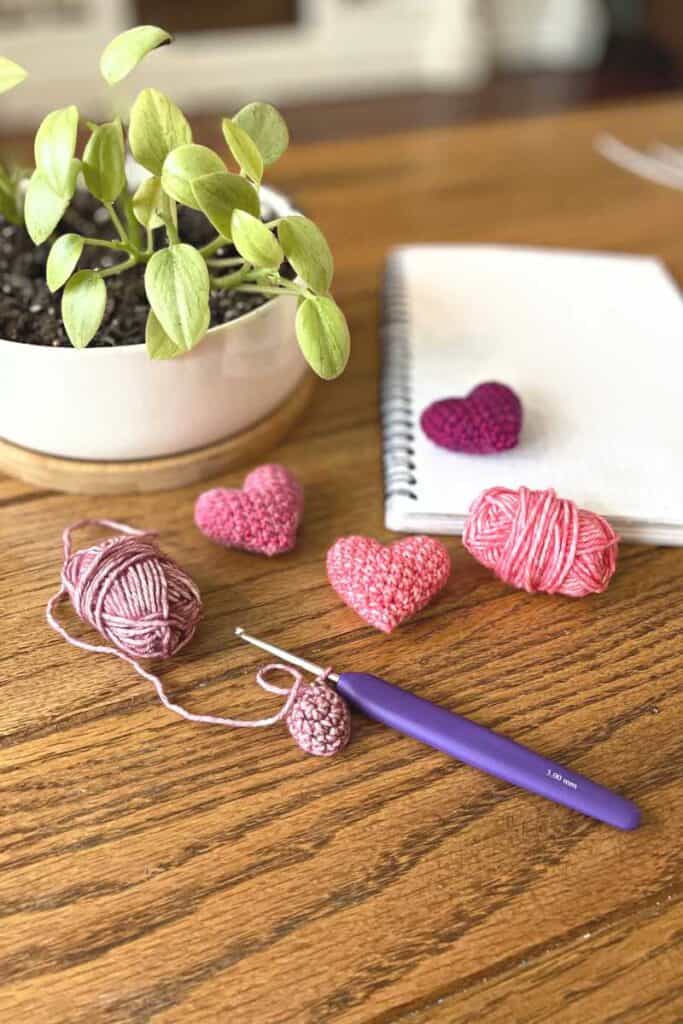
Materials needed:
- Yarn – Any worsted/aran weight yarn
- Size E/3.5mm crochet hook
- Stuffing
- Stitch marker
- Yarn needle (for weaving in ends)
- Scissors (for trimming ends)
Stitches/Abbreviations Used:
- magic ring
- R – round or row
- st/sts – stitch/stitches
- sc – single crochet
- inc – increase (work 2 single crochet stitches into the next stitch)
- invdec – an alternative to the sc2tog stitch
Finished Size:
The larger heart is about 2 1/4″ wide and the smaller heart is about 1 3/4″ wide, when using worsted weight yarn with a size E/3.5mm crochet hook. Your hearts may vary in size depending the yarn and hook you use, as well as your personal crochet tension.
Pattern Notes:
This pattern is beginner-friendly if you’re new to amigurumi. You just need to know how to single crochet, increase, and invisible decrease.
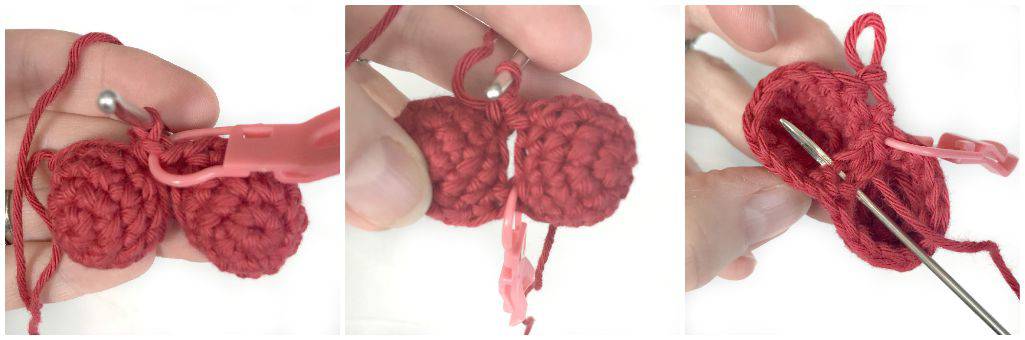
As you begin, pay close attention to the photos when joining the top of the heart as this can be a little bit tricky.
Larger Amigurumi Heart (2 1/4″ wide):
First, you’ll crochet the two curves of the heart, then connect them together and crochet down to the tip of the heart.
R1: Sc 6 into a magic ring. (6)
R2: Inc in each st around. (12)
R3: (3 sc, inc) 3x around. (15)
R4: Sc in each st around.
Pull yarn through last stitch and cut, leaving long tail. Repeat rounds 1-4, but this time do not cut the yarn. You now have the top curves of the heart.
R5: Holding the first curve next to the second curve, sc into any stitch of the first curve (mark with a stitch marker as the first stitch of this round).
Continue to sc around the first curve, leaving the final stitch unworked (when you reach the yarn tail, just hold it down and crochet over it for 1-2 stitches).
Connect to the second curve with a sc, again leaving one stitch unworked (so the two unworked stitches are across from each other), and then sc around the second curve. (28)
Use the yarn tail from the first curve to sew up the hole left by the skipped stitches in the middle of the curves.
R6: Sc in each st around. (28)
R7: (5 sc, invdec) 4x around. (24)
R8: (6 sc, invdec) 3x around. (21)
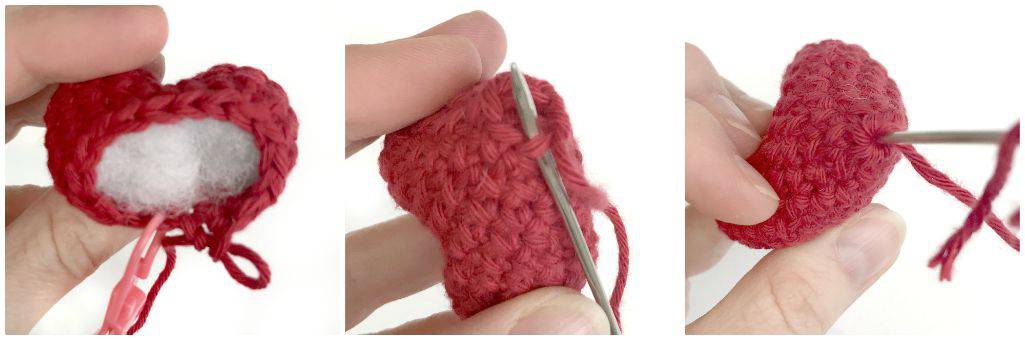
R9: (5 sc, invdec) 3x around. Start stuffing. (18)
R10: (Sc, invdec) 6x around. (12)
R11: Sc in each st around. Stuff completely.
R12: (2 sc, invdec) 3x around. (9)
R13: (Sc, invdec) 3x around. (6)
Smaller Amigurumi Heart (1 3/4″ wide):
R1: Sc 6 into a magic ring. (6)
R2: Inc in each st around. (12)
R3-R4: Sc in each st around.
Pull yarn through last stitch and cut, leaving a tail. Repeat rounds 1-4, but this time do not cut the yarn. You now have the top curves of the heart.
R5: Holding the first curve next to the second curve, sc into any stitch of the first curve (mark with a stitch marker as the first stitch of this round).
Continue to sc around the first curve, leaving the final stitch unworked (when you reach the yarn tail, just hold it down and crochet over it for 1-2 stitches).
Connect to the second curve with a sc, again leaving one stitch unworked (so the two unworked stitches are across from each other), and then sc around the second curve. (22)
Use the yarn tail from the first curve to sew up the hole left by the skipped stitches in the middle of the curves.
R6: Sc in each st around. (22)
R7: (3 sc, invdec) 4x around. Sc in last 2 sts. (18)
R8: (4 sc, invdec) 3x around. (15)
R9: (3 sc, invdec) 3x around. Start stuffing and continue until heart is completed. (12)
R10: (2 sc, invdec) 3x around. (9)
R11: (Sc, invdec) 3x around. (6)
Fasten off, using yarn needle to pull tightly through final stitches to close completely. Weave in ends.
I hope you enjoyed making these little hearts! What will you use them for?
If you’d like to see more free patterns, click here. Happy Valentine’s Day!
No time to crochet today? Save this on Pinterest for later!

© 2026 Crochet to Play
All rights reserved. Designed and written by Jennifer Percival. This pattern is property of Crochet to Play. The written pattern and images are for personal use only. Please do not redistribute, transfer, or sell the pattern or images, in part or in whole. Thank you.
I have made your hedgehog once before for a friend and it turned out great! I’m now going to make another one, this time with the heart. Your hedgehog pattern is so cute, thank you so much!
Aw, thank you so much! I’m glad you’ve enjoyed it. 🙂
I enjoyed this project very much. I made my hedgehog for a friend going through cancer treatments. Such a sweet little hedgehog to brighten one’s day.
What a sweet gesture for your friend! Wishing the best.
Hello can we sell these once we make them?
Yes, absolutely! 🙂
I just made one of the large hearts, it is my first “real attempt” at this sort of crochet and this went super easy for me. I loved the pattern and plan on making a ton more to send to my friends. Thanks for the great pattern.
So glad it was clear and went well for you! 🙂
Can you give me a little more guidance for Round 5? How do you “Hold the first curve next to the second curve”? Is it side by side? If so, how? Are you only working into 1 of the curves? And then how do you join the two curves and continue? I want to make these for charity and would appreciate any help you can provide.
Hi Mary,
When you work rounds 1-4 twice, you have two cup-shaped curves. In round 5, you crochet around the curve/cup that you just finished in round four. Then with your other hand, hold the other curve/cup shape and single crochet into it and then around as described. This connects the two curves to make the top of the heart. This video shows the same idea (about minute nine): https://www.youtube.com/watch?v=mlqgrLitQgs
Hope that helps!
Jennifer
adorable.. i sent to my friend!
This pattern is absolutely fantastic! It is very easy to follow and understand. Also, I really appreciate when the amount of stitches is listed at the end of every round; that is a good way to check your work and stay on the right track. My little hedgehog ended up looking just like the photo. I was very pleased.