
Crochet Bunny Easter Basket: Free Pattern
Spring is the perfect time for a fresh new crochet project, don’t you think? The birds are chirping, the earliest flowers are starting to bloom, and Easter is right around the corner. It always gets my creative juices flowing in a new way.
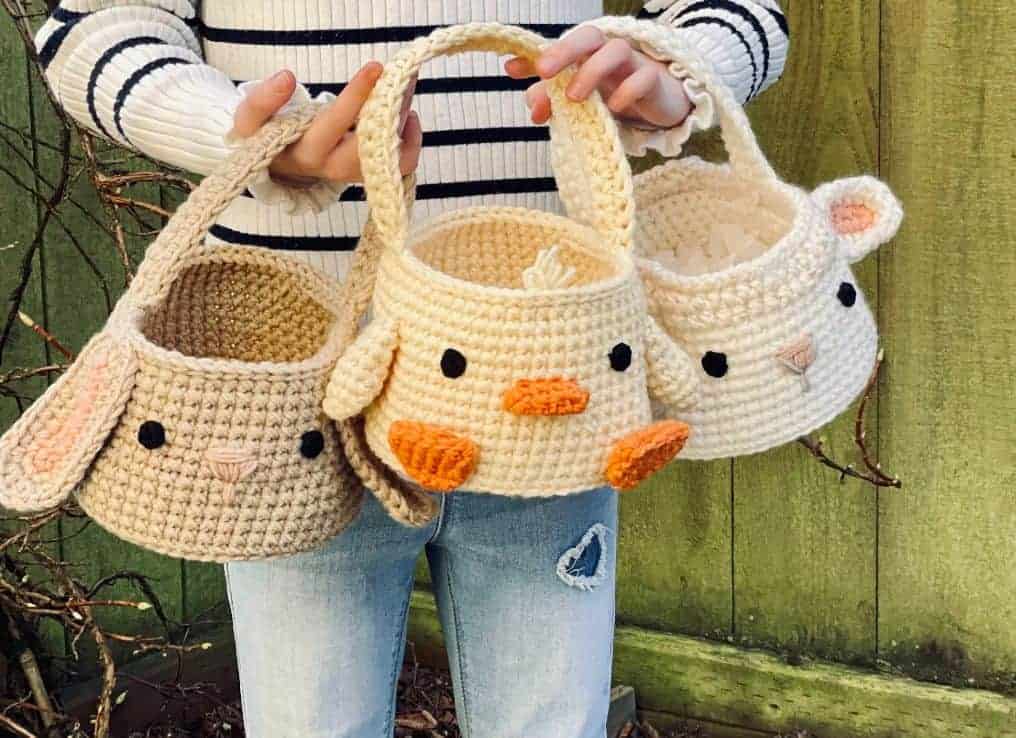
I’ve had Easter baskets on my “to make” list for some time, with little sketches in my idea book and everything. This Crochet Bunny Easter Basket was first on my list, and I know you’re going to love it. It’s got floppy ears, the sweetest little face, and best of all is easy to make.
In addition to the bunny basket, I also designed coordinating lamb and chick baskets (just as cute if you ask me!). The Crochet Bunny Easter Basket pattern is free here in this blog post, but if you’re looking for all three designs, I’ll link them here for you too.
This post contains affiliate links to products I recommend to my readers. If you click on one of these links and decide you’d like to make a purchase, I will make a small commission (at no extra cost to you).
Getting Started
Some crochet designs take a lot of trial and error to get just right and others flow and come together almost effortlessly. This Crochet Bunny Easter Basket came together like just like that. It’s extra adorable but actually really simple!
I made my bunny basket using light brown as the main color, but this pattern would be just as cute worked up in white, cream, or even some fun pastel colors.
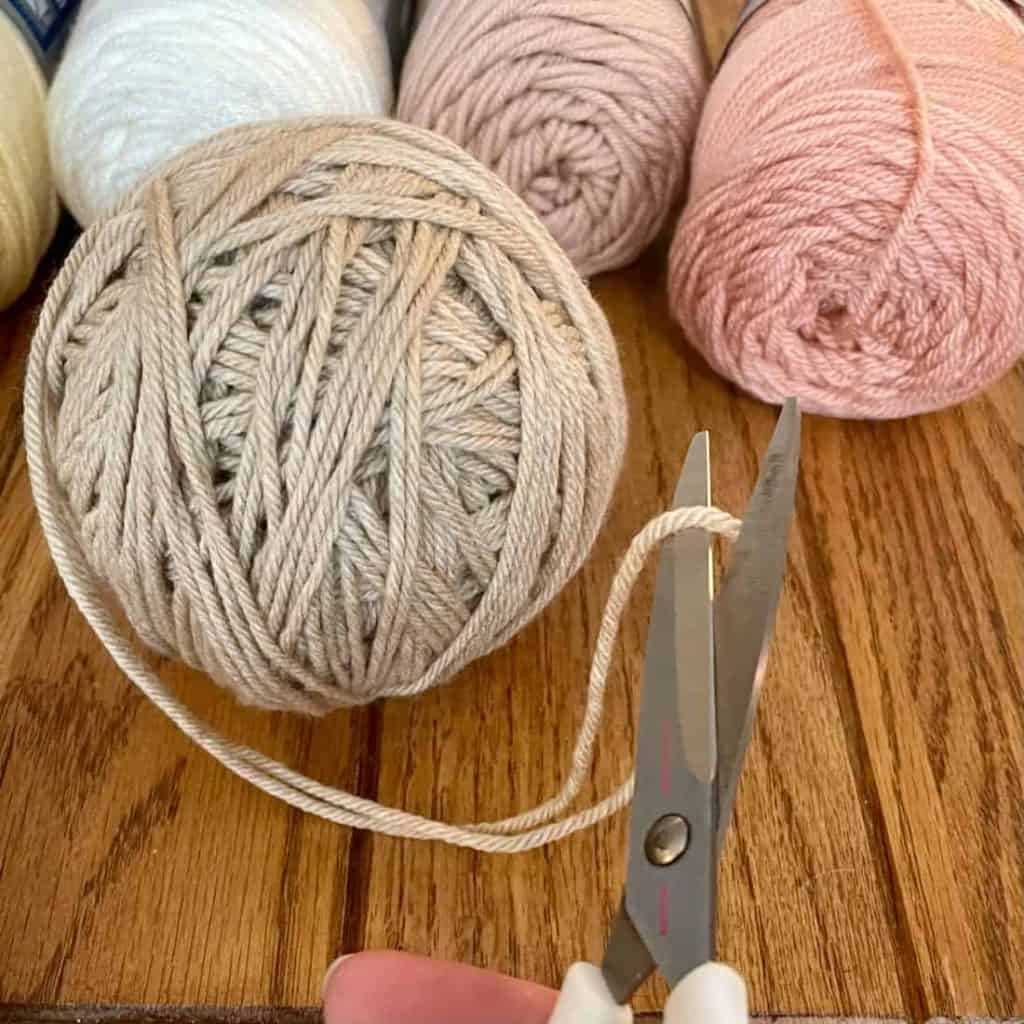
You’ll see a specific yarn list below, but feel free to use whatever yarn you like (although I would stick with using two strands of worsted weight yarn, as explained in the pattern).
My one yarn suggestion is not to use your softest, slipperiest yarn. Baskets do best with structure, so some of the more inexpensive (or even rougher) yarns out there are just perfect for this project.
Crochet Bunny Easter Basket Pattern
Materials Used:
- Yarn – for the main basket and ears, I used Yarn Bee “Yarn ID” in Fawn and I Love This Yarn in Cherry Blossom, with two strands held together (see pattern notes below)
For the nose and eyes, I used Yarn Bee “Yarn ID” in Himalayan Sea Salt and I Love This Yarn in Black - Size K/6.50mm and size E/3.5mm crochet hooks
- Yarn needle
- Stitch Marker
- Scissors (for trimming ends)
- Pipe cleaners (I used Creatology brand but this is a similar color)
Stitches/Abbreviations Used:
- magic ring
- ch – chain
- R – round or row
- st/sts – stitch/stitches
- sc – single crochet
- hdc – half double crochet
- dc – double crochet
- inc – increase (work 2 single crochet stitches into the next stitch)
- invdec – invisible decrease (an alternative to sc2tog)
- sl st- slip stitch
- BLO – back loops only
- FLO – front loops only
Gauge/Finished Size:
Gauge is not essential for this pattern, but it is helpful to have tight, even stitches. With my own tension, for reference, the first 10 rounds measure about 6.5“ in diameter. If you want to make a bigger or smaller basket, you can adjust the increase rounds (rounds 1-10). The basket pictured is about 5″ tall, 9″ tall including the handle.
Pattern Notes:
If you’re a beginner to basket making, you may feel a little intimidated by the structure of it. But if you can single crochet, you can absolutely follow this pattern!
The basket gets its structure from crocheting with two strands of yarn at the same time. Each skein of yarn has two ends – one wrapped around the outside and one tucked into the inside of the skein.
Using two strands not only gives the basket some sturdiness, but it provides a nice texture too.

To make this easier, I took both ends of yarn (the end you can see on the outside and the end you have to find and pull from the inside) and wound them together into one ball.
The Crochet Bunny Easter Basket pattern is written with continuous rounds, so I recommend using a stitch marker at the beginning of every round to keep your place. You may find, however, that working in continuous rounds gives your stitches more “slant” than you would like.
There are a couple of ways to address this problem (only if it bugs you, of course). One way is to use joined rounds instead of continuous rounds. If you use this method, just slip stitch, chain one, and turn at the end of each round. Your basket will end up with a slight seam.
The other way to reduce the slant of the stitches is to try yarning under instead of yarning over. I go into a lot of detail about yarning over vs under in this post, so check it out if you need more info.
The basket pictured uses my favorite combo – the yarn over/yarn under method (also discussed in this post). This method helps the stitches look more stacked than slanted.
You can find an ad-free, printer-friendly version of this pattern on Ravelry or Etsy. The premium version of the pattern includes photo illustrations for each step.
Crochet Bunny Easter Basket Pattern:
Basket
R1: Using light brown yarn (see yarn list above), and holding two strands together, 6 sc into a magic ring. (6)
R2: Inc in each st around. (12)
R3: (Sc, inc) 6x around. (18)
R4: (2 sc, inc) 6x around. (24)
R5: (3 sc, inc) 6x around. (30)
R6: (4 sc, inc) 6x around. (36)
R7: (5 sc, inc) 6x around. (42)
R8: (6 sc, inc) 6x around. (48)
R9: (7 sc, inc) 6x around. (54)
R10: (8 sc, inc) 6x around. (60)
R11: In BLO, sc in each st around.

R12-R15: Sc in each st around.
R16: (13 sc, invdec) 4x around. (56)
R17-R23: Sc in each st around.
R24: In FLO, sl st in each st around. Do not fasten off.
Handle
R1: With the last loop from Round 24 of the basket still on your hook, ch 28. Attach chain with a sl st to the other side of the basket – exactly halfway would be 28 sts. However, because the handle will be 3 stitches wide, attach your chain 26 stitches over, when counting across the back side of the basket. Ch 1, turn.
R2: Sc in each ch across. Attach with a sl st in the st next to your starting point. Ch 1, turn. (28)
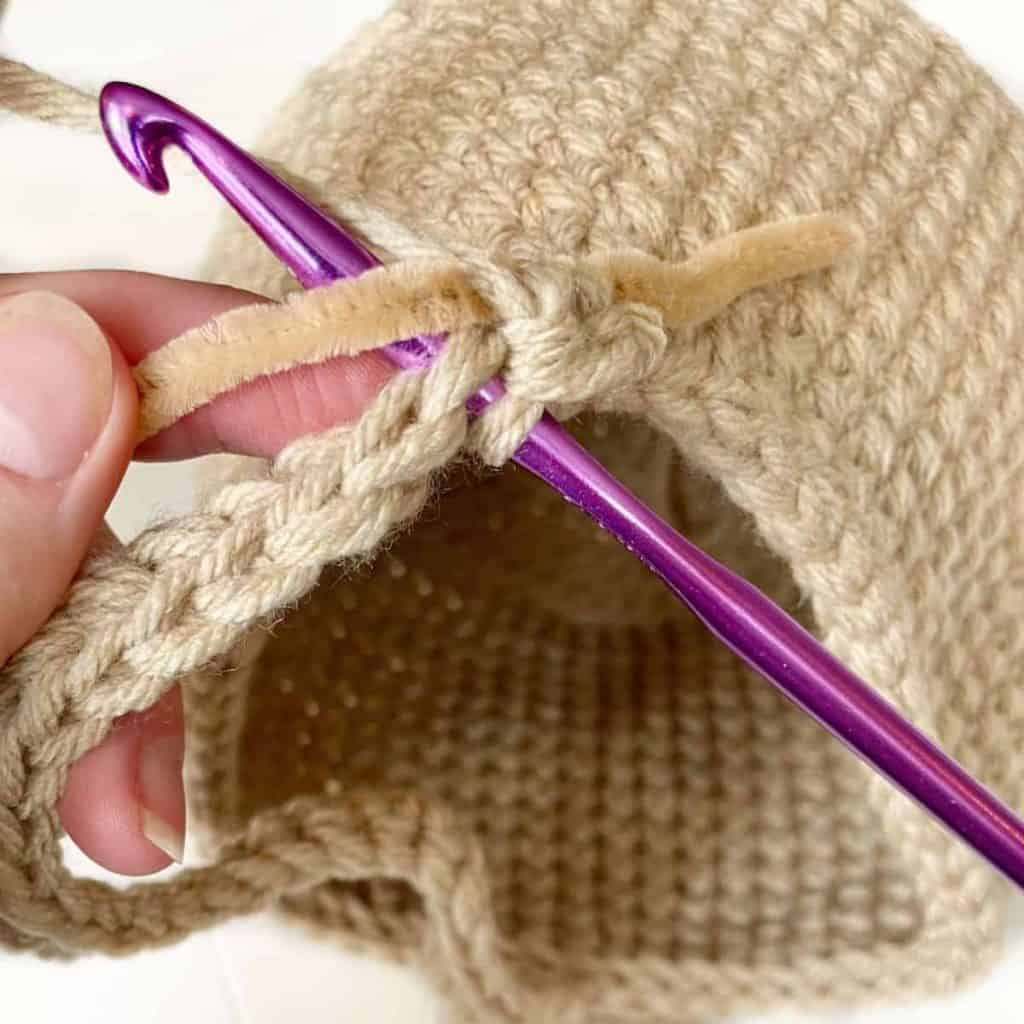
R3: Holding pipe cleaner parallel with handle, sc in each st across and over pipe cleaner. Sl st to other side of basket. Sl st in next st as well. Ch 1, turn.
R4: Sc in each st across (optional: sc over an additional pipe cleaner for added structure). Sl st to attach.
Fasten off. If necessary, trim leftover pipe cleaner ends and weave in all yarn ends.
Ears (make 2)
R1: Using pink yarn (see yarn list above), and holding two strands together, chain 11. Sc in 2nd ch from hook and in next 8 chains. 3 sc in last ch. Turn and continue to crochet on the other side of the chain – 9 sc, 1 inc. (23)
R2: Switching to light brown yarn, continue to work in the round – 1 inc, 9 sc, 2 inc, 10 sc, 1 inc. (27)
R3: 1 inc, 10 sc, 2 hdc, 2 dc, ch 1, 2 dc, 2 hdc, 11 sc, 1 inc. (33, not counting the ch 1)
Fasten off, leaving a tail(s) for attaching. Weave in all other ends.
Attach ears on either side of the basket, sewing the top edge of each ear to the top edge of the basket, about 2 sts in front of the handle. Continue to sew down the sides of the ears, about 1/3 to 1/2 of the way down the ear. Weave in all ends.
Nose
Using light pink yarn and your yarn needle, embroider a V-shape centered between the ears. Then add a line going straight down.
Fill in the empty V until the nose has the fullness you like. Trace back over any lines you’d like to be thicker.
For reference, the nose on my bunny basket is centered between the ears with 5-6 stitches on each side. The top of my nose is about 6 rows down from the top of the basket and the bottom is about 4 rounds from the base of the basket. I traced back over the main lines at least 3 times for thickness.
Eyes (make 2)
R1: Using black yarn, and switching to your size E/3.5mm hook, 6 sc into a magic ring. (6)
Sl st in first sc, then pull through and fasten off, leaving a long tail. Use yarn needle to attach eyes to basket.
For reference, the eyes on my bunny basket are about 5 rows down from the top of the basket. Each eye is centered between the side of the nose and the ear. Weave in all ends.
And that does it! I hope you enjoyed this pattern as inspiration for making your own sweet Bunny Basket.
Let me know in the comments what colors you chose and if you’ll be giving to someone as a gift for Easter morning. I think it’s the perfect size for little ones finding treats and Easter eggs in the backyard.
If you’d like to see more free crochet patterns, take a look here. Happy crocheting!
No time to crochet your Bunny Easter Basket today? Save it on Pinterest for later!

© 2026 Crochet to Play
All rights reserved. Designed and written by Jennifer Percival. This pattern is property of Crochet to Play. The written pattern and images are for personal use only. Please do not redistribute, transfer, or sell the pattern or images, in part or in whole. Thank you.
Hiya! A little question about the yarn under, I’ve been doing it but my stitches don’t look like yours, they still look like V shape stitches as if it were a yarn over? I wish I could attach a photo to this comment to show you but I’m not sure what I’m doing wrong. Do you have an email I can send a photo to? To show you and hopefully you can help sort me out 😂
Hi Kate! Try reading this blog post and watching this video. Hope that helps! 🙂
How much yarn do I need for this project? I can’t wait to make it!
Hi Alyssa! For the main color, I used one full skein of Yarn Bee “Yarn ID” in the color Fawn, which is about 250 yards. The other colors used a small amount of each skein listed under Materials. Have fun!