Crochet Snowflake Pattern
This post contains affiliate links to products I recommend to my readers. If you click on one of these links and decide you’d like to make a purchase, I will make a small commission (at no extra cost to you).
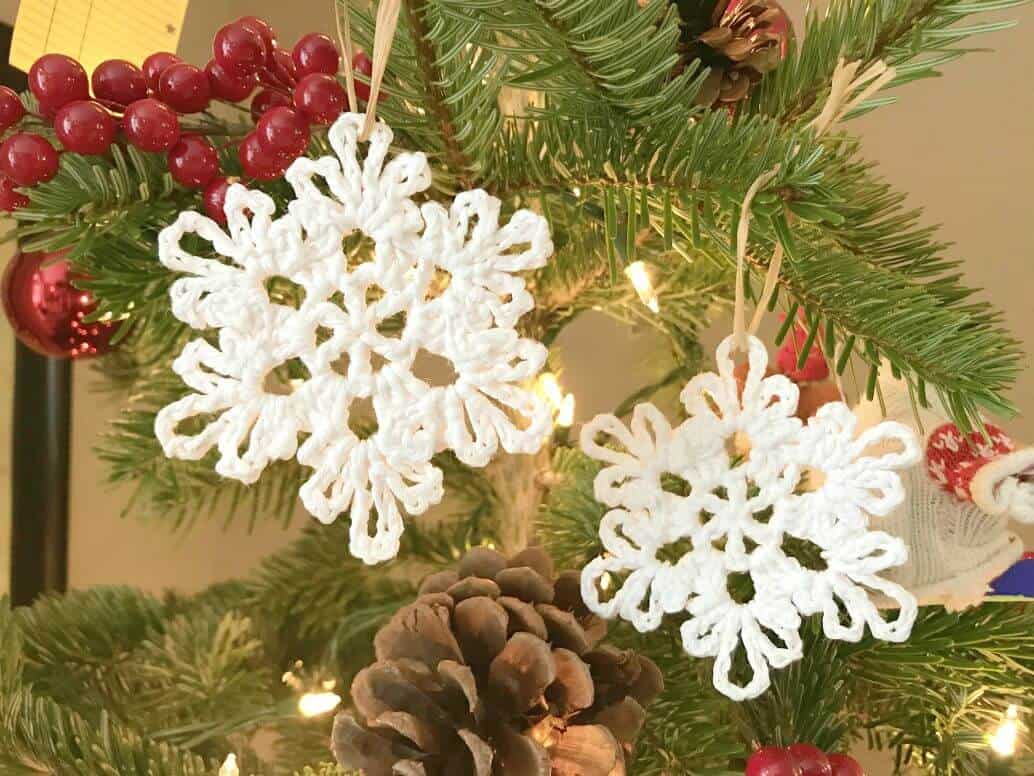
With Christmas approaching, I was in the mood for a quick wintery project, so I decided to work up a crochet snowflake pattern. There are tons of beautiful crochet snowflakes out there, but I wanted something simple and easy that would work with yarn I already had. I also knew I wanted to experiment with starching the snowflakes so they would hold their shape (more about that below).
These snowflakes look more difficult than they are, I promise! You can make them with any white yarn and hook (my specifics are in the pattern), and you only need to know how to do a magic ring, chain, slip stitch, and double crochet. Simple!
No time to make your snowflakes now? Pin this post for later!

Crochet Snowflake Pattern
Materials Used:
- Yarn – Hobby Lobby’s “I Love This Cotton” in White
- Size E/3.5mm crochet hook
- Yarn needle for weaving in ends (I like these ones with bent tips)
If you’re going to starch your snowflakes like I did, you will also need:
- Corn Starch
- Straight pins
- A blocking board or foam board
Stitches Used:
- magic ring
- ch – chain
- sl st – slip stitch
- dc – double crochet
Finished Size:
After starching and blocking, my snowflakes measure about 4″ across.
Pattern:
Begin with a magic ring.
R1: Ch 5. (Dc, ch 2) 5x around. Sl st into 3rd ch of beginning ch 5.
R2: Ch 3. 2 dc in first ch space. (Ch 3, 3 dc in next ch space) 5x around. Ch 3. Sl st into top of ch 3.
R3: Sl st into next 2 sts and into 1st ch space. Into that ch space and each ch space around: ch 4, sl st, ch 6, sl st, ch 8, sl st, ch 6, sl st, ch 4, sl st, then sl st across next 3 sts and into next ch space) 6x.
Fasten off, weaving in ends.

Starching the Snowflakes:
After making the snowflakes, I tried a couple of different starching methods. My first attempt was a flop (literally, because my snowflake was still floppy!) so I won’t waste your time with what I did. But I had success with a corn starch method I followed, using the directions described in this blog post by Cy Crochet. I recommend reading once through it to get an idea of the steps before starting.
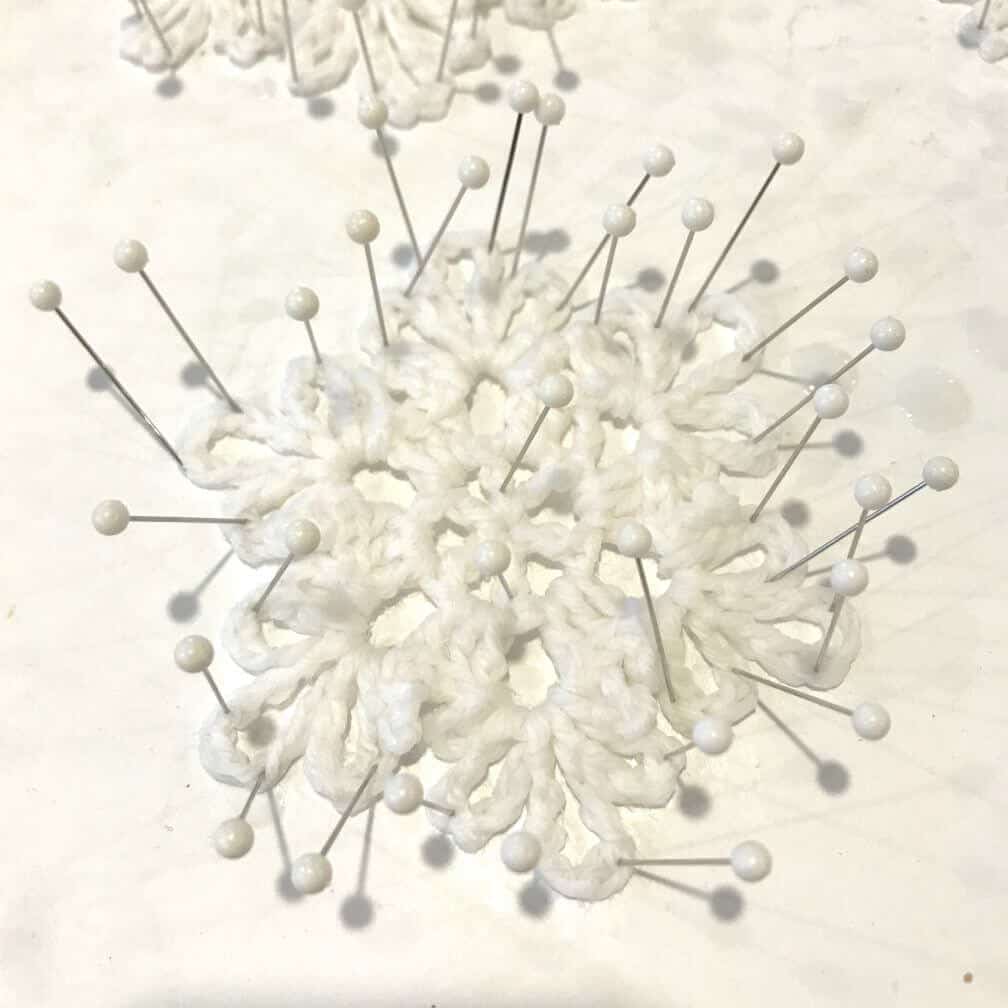
After reading that blog post, I followed the steps mixing corn starch with boiling water. It cooled and thickened up, and I soaked the snowflakes in the mixture. Then I blocked the snowflakes on foam posterboard, stretching (slightly) and pinning each part of the snowflake. Blocking this way allowed the snowflakes to dry with more definition and detail showing. I let my snowflakes to dry for about 24 hours before removing the pins. Voila! I had snowflakes that held their shape and could be used in lots of different ways.
Side note: I also tried combining glitter with the cornstarch mixture and it wasn’t a huge success. The glitter flaked off a lot after the snowflakes dried, so if you want sparkly snowflakes, I’d recommend using a yarn like this one.
Try it for yourself
I hope you are able to make your own crochet snowflakes using this pattern! If you do, I’d love to see, so tag me on Instagram @crochettoplay. And for more free patterns, click here. Merry Christmas!
© 2026 Crochet to Play
All rights reserved. Designed and written by Jennifer Percival. This pattern is property of Crochet to Play. The written pattern and images are for personal use only. Please do not redistribute, transfer, or sell the pattern or images, in part or in whole. Thank you.
Thank you for sharing. Lovely pattern!
You’re so welcome!
why not use spray starch and spray on glitter?
Yep, you definitely could! 🙂
Hi, about how many snowflakes did 1 skien make. I’d like to make a table runner.
I used some scrap yarn from my stash when making these, so I’m not sure how many a full skein would make. It would depend on the yardage in the skein too, but I’d assume you could get quite a few. 🙂
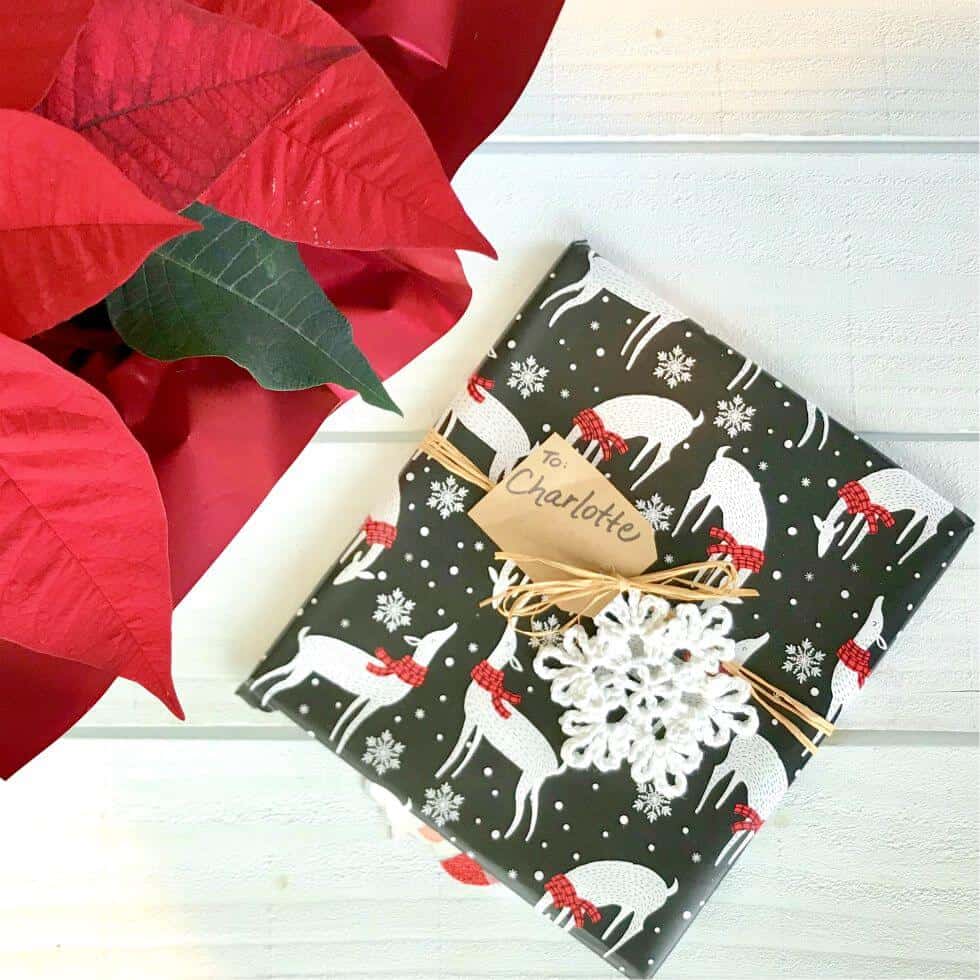
These snowflakes are gorgeous! The pattern does look quick, too. And, your explanation for the starching and blocking is actually understandable. IF I can get finished with my gifts I’m crocheting I want to make some of these snowflakes to put on my packages. If not, I’ll make a bunch for next year.
I’m glad you like them! I hope you get the chance to make some. 🙂