
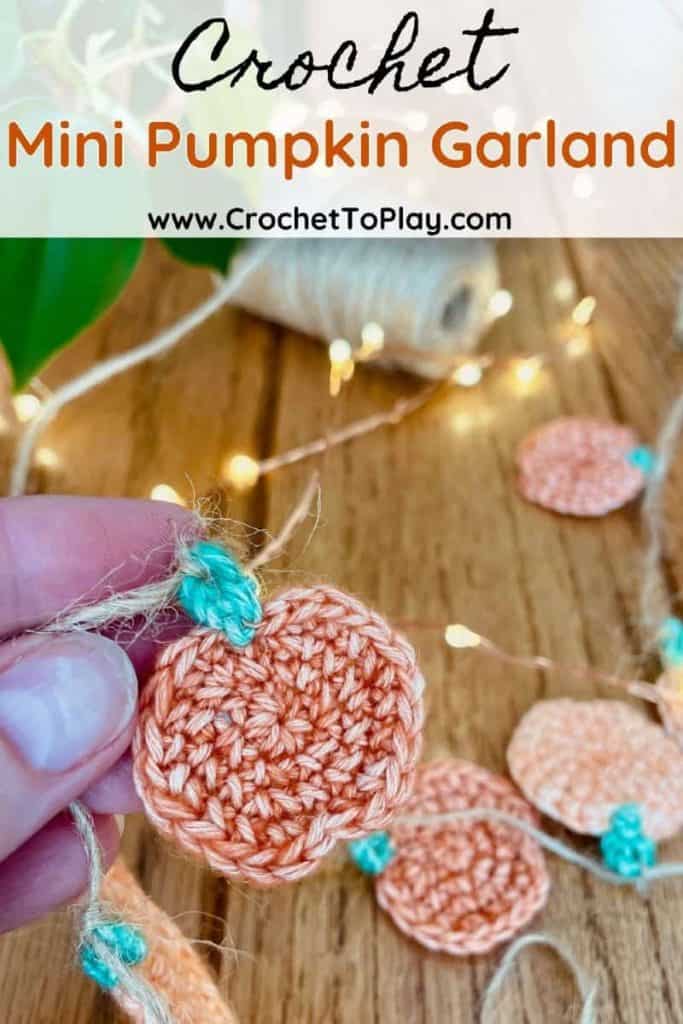
Crochet Pumpkin Garland Pattern
Fall is my favorite season, and as a friend of mine says, the “pumpkin-ing” has already begun! Every grocery storefront here is mounding up their pumpkins, from from the biggest to the smallest. If you like the littlest of pumpkins, I’ve got a great project for you today – a mini crochet pumpkin garland pattern!
A while back I bought this pack of cute mini skeins of yarn. I loved the variety of colors and that each one was actually made of two colors of yarn blended together. Variegated yarns can change a project more than you’d think!
Years later I’m still finding ways to use up these little balls of yarn, this time for a pumpkin garland. I used lighter and darker shades of orange for the pumpkins and bright green for the stem, but you can get creative and use whatever yarn and colors you like.
This post contains affiliate links to products I recommend to my readers. If you click on one of these links and decide you’d like to make a purchase, I will make a small commission (at no extra cost to you).
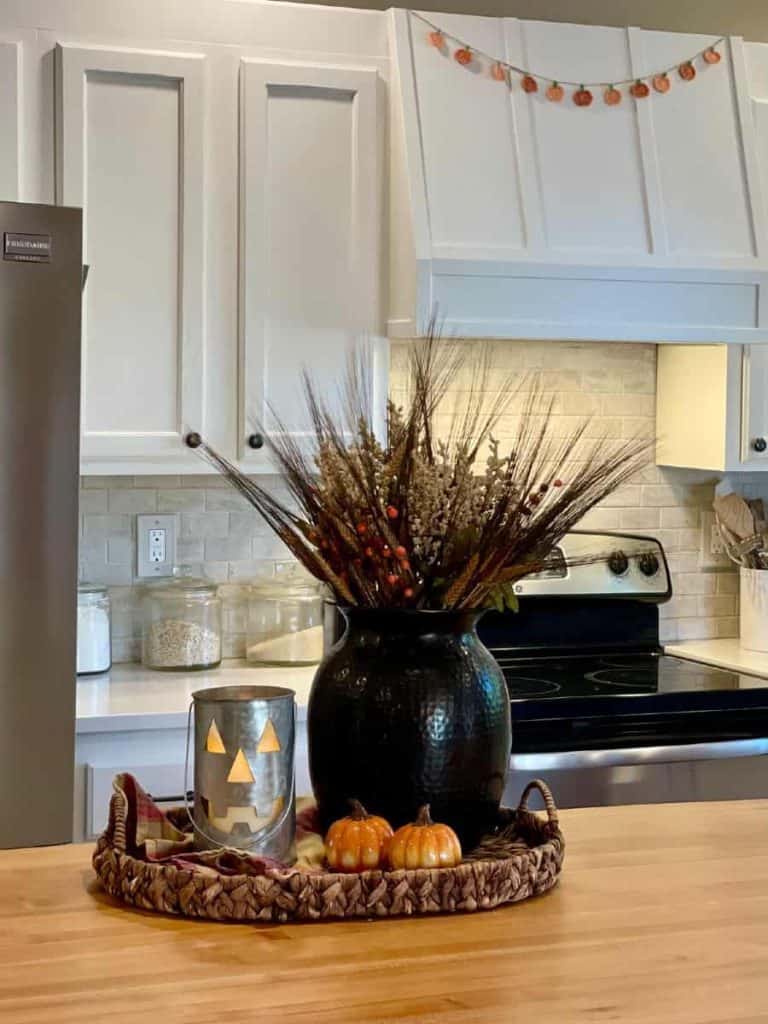
Once you make your crochet pumpkin garland, you can use it to decorate a mantle, hang it on a shelf in your office, across a mirror, or anywhere you like! I ended up hanging mine across the range hood in our kitchen and it looks so cute.
Crochet Pumpkin Garland Pattern
Materials Used:
- Yarn – Scheepjes Stonewashed in Coral, Morganite, and Malachite
- Size F/3.75mm crochet hook
- Stitch marker
- Scissors (for trimming ends)
- Yarn needle (for weaving in ends)
- Optional – twine for hanging
Stitches/Abbreviations Used:
- magic ring
- ch – chain
- R – round or row
- st/sts – stitch/stitches
- sc – single crochet
- inc – increase (work 2 single crochet stitches into the next stitch)
- sl st- slip stitch
Finished size:
Each mini pumpkin in my garland measures just 1.5″ wide, using a size F/3.75mm hook and sport weight (2) yarn. I made my garland pretty short, making only 11 total pumpkins. You can make yours as long or short as you want.
Pattern Notes:
It’s important to note that the pumpkins pictured in my garland were made with sport weight yarn. Using lightweight yarn like this will give you mini pumpkins for your garland.
You can use any yarn you’d like for this pattern (just make sure to adjust your hook size accordingly). Heavier weight yarns will give you larger, bulkier pumpkins.
This pattern is worked in continuous rounds. I recommend using a stitch marker to keep your place.
In the very last round, you’ll switch yarn colors from orange to green. To switch colors, before finishing the last stitch with the old color, with the last 2 loops on the hook, drop the old color, pick up the new color, yarn over and complete the stitch. Now the new color will be on your hook and you can begin the next stitch.
Crochet Pumpkin Garland Pattern:
R1: 6 sc into a magic ring. (6)
R2: Inc in each st around. (12)
R3: (Sc, inc) 6x around. (18)
R4: 2 sl st, 1 inc, (2 sc, inc) 2x, 1 sl st, 1 sc, inc, (2 sc, inc) 2x. (24 – sl sts count as sts)
Continue to sl st 2 more times, switching to green yarn on the last sl st. Then ch 5 and sl st into first chain to form a little loop. Fasten off, weaving in all ends in back.
Finishing Up
Once you’ve made all the pumpkins you’d like, you have a few options for stringing them together.
If you’d like to stick with using yarn, you could simply pick the yarn color you’d like and crochet a chain the length of garland you need. You can pull the chain through the looped pumpkin stems.
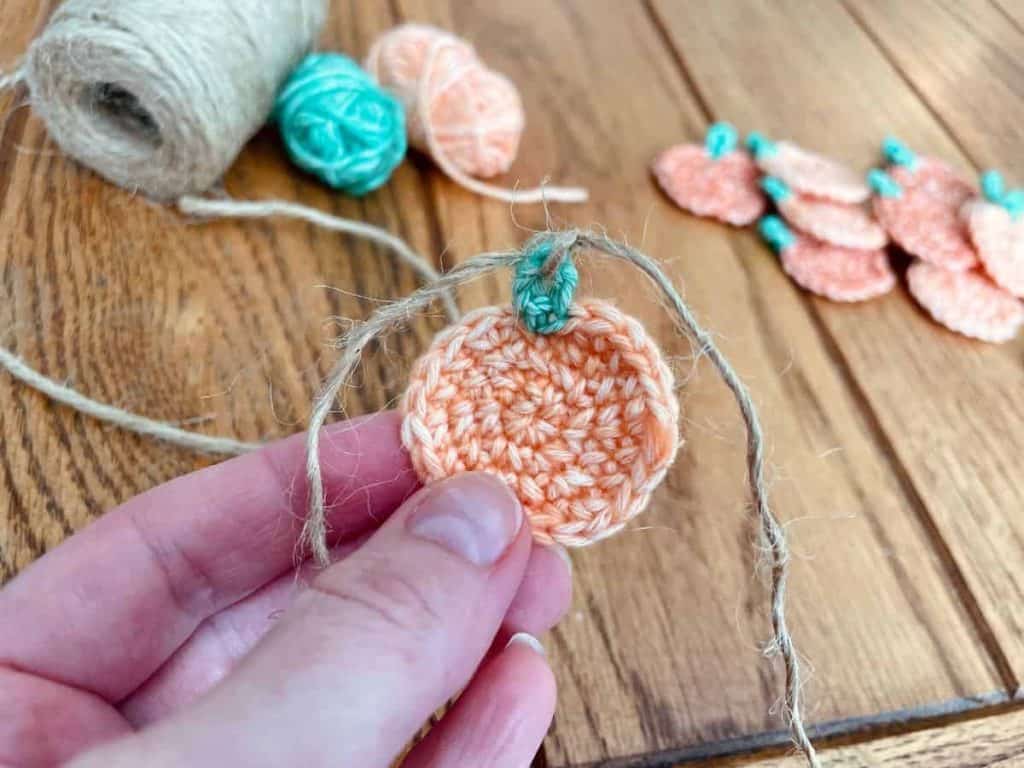
I chose to use some twine I had here at home. I wanted it to be a bit thinner so I did divide it and just use half the plies in the twine.
Then I cut the twine the length I wanted and tied it around each pumpkin loop.
And that does it! I hope this mini crochet pumpkin garland pattern helped you add a little fall warmth to your home.
If you’d like to try some more of my free crochet patterns, you can check them out right here.
No time to crochet today? Save this post for later on Pinterest!
© 2026 Crochet to Play
All rights reserved. Designed and written by Jennifer Percival. This pattern is property of Crochet to Play. The written pattern and images are for personal use only. Please do not redistribute, transfer, or sell the pattern or images, in part or in whole. Thank you.