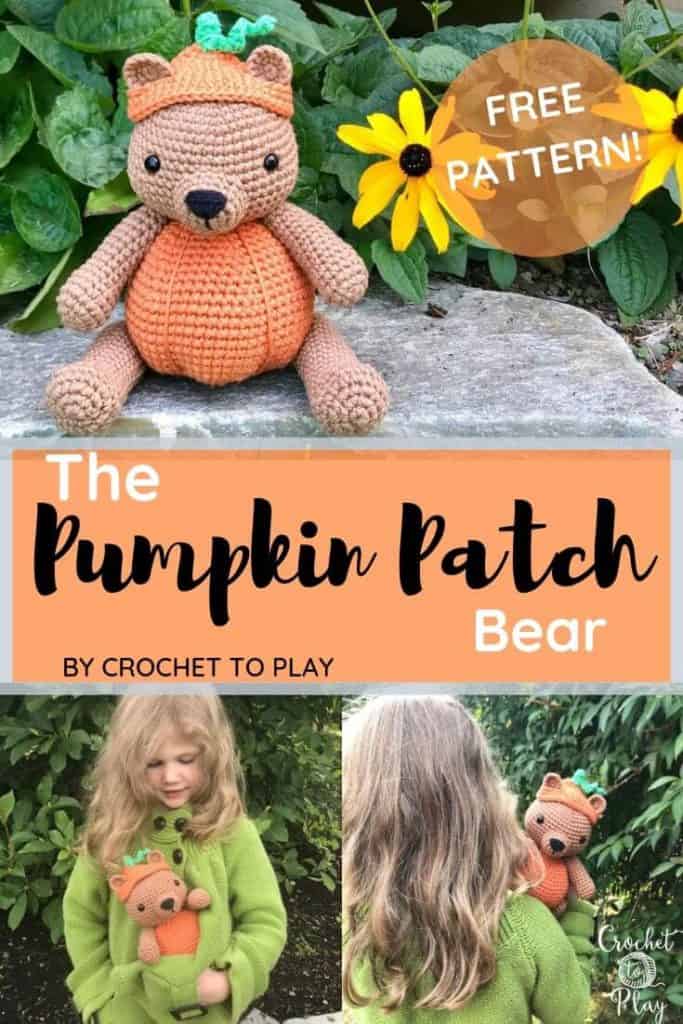
The Pumpkin Patch Bear
This post contains affiliate links to products I recommend to my readers. If you click on one of these links and decide you’d like to make a purchase, I will make a small commission (at no extra cost to you).
I don’t know about you, but I am a HUGE fan of autumn. I love seasons in general – the cyclical way you can count on them, how another season is around the corner when you need a change, how each one helps you appreciate the world in a different way – but fall is my very favorite.
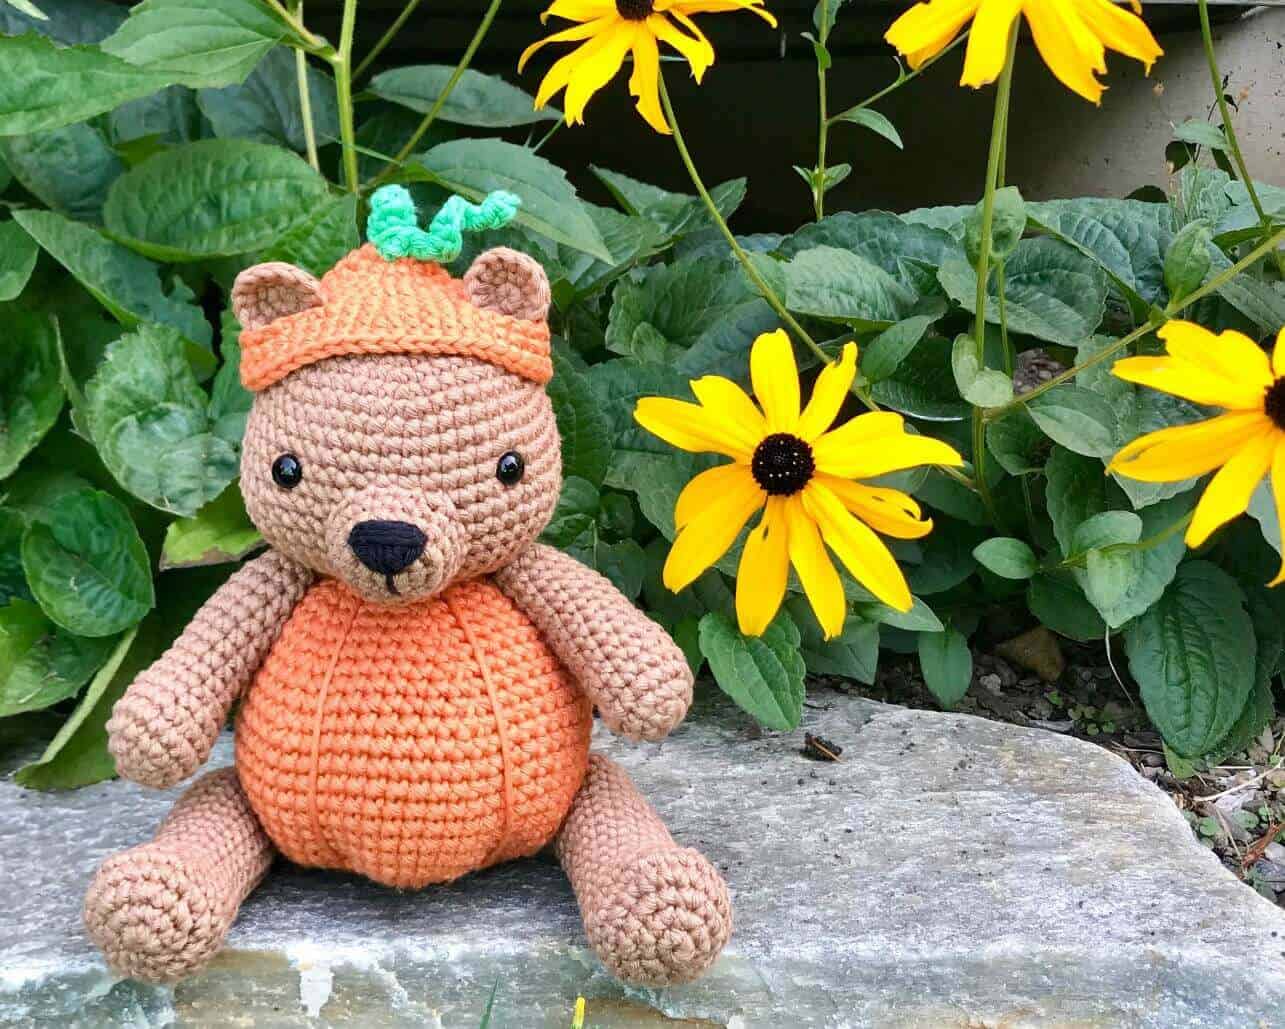
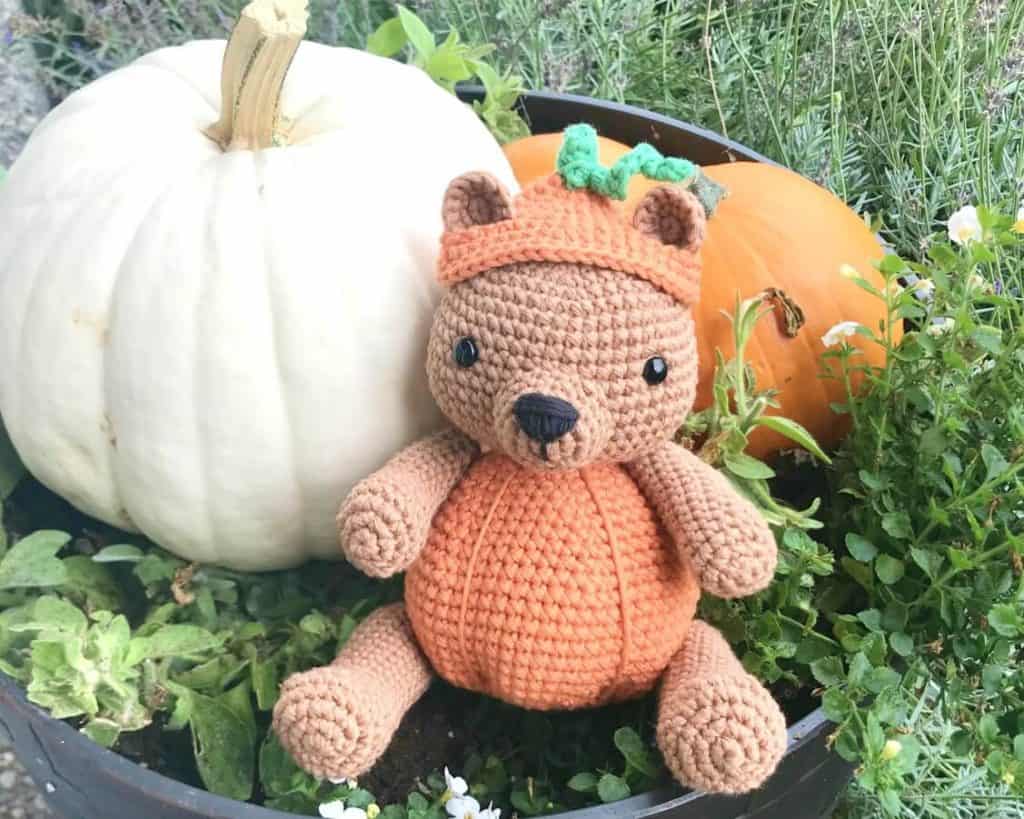
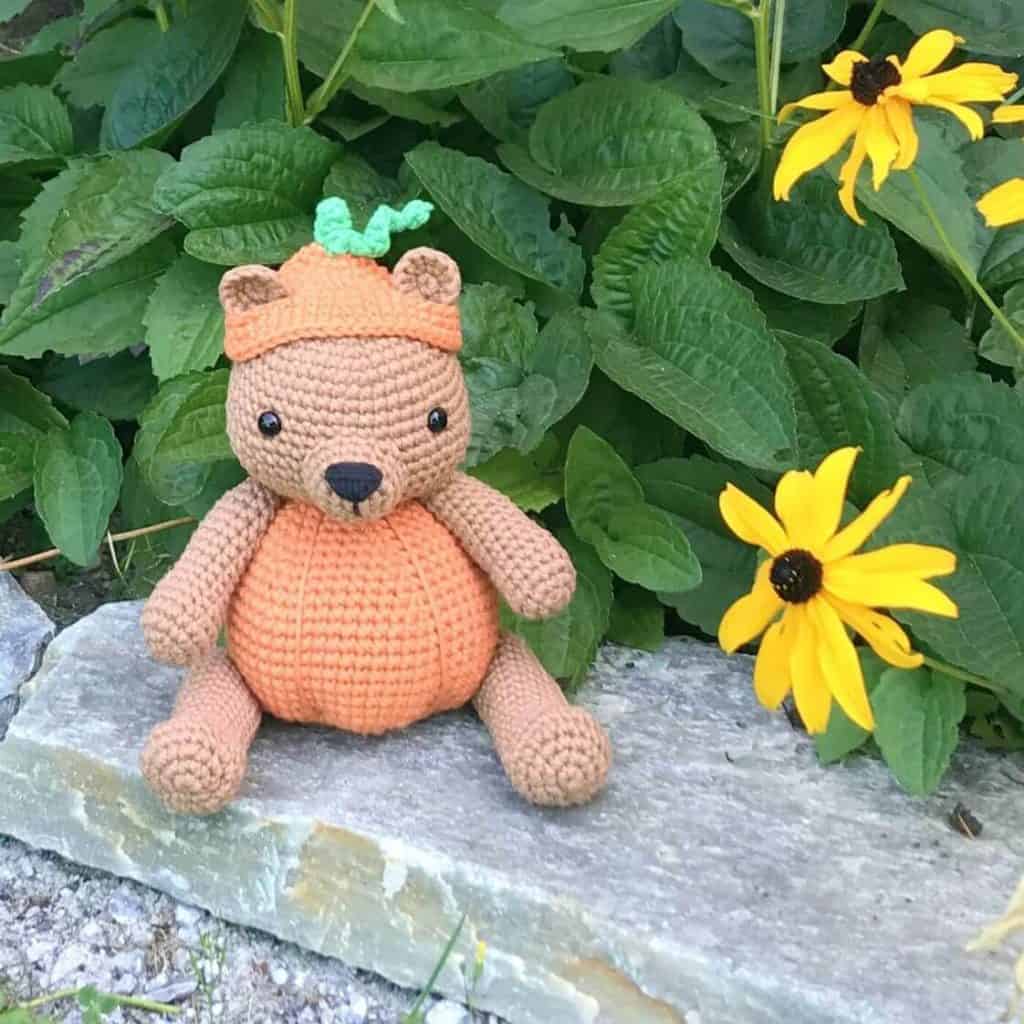
Given my love for all things autumnal, I knew had to whip up something that fit the season. This little amigurumi pumpkin bear came to mind, and now it’s ready to share with you. With that plump pumpkin body and little hat, he scores pretty high on the cute factor!
The Pumpkin Patch Bear pattern works up quickly. It uses mostly single crochet stitches and is worked in the round. While I used plastic doll joints to attach the arms and legs, you could easiy sew them on if you prefer.
You can find a printer-friendly PDF version of this pattern on Ravelry or Etsy. The premium version of the pattern includes detailed, full-color photo illustrations for each step.
No time to make the Pumpkin Patch Bear now? Pin it here for later!
The Pumpkin Patch Bear Pattern
Materials used:
- Yarn – Less than one 50g skein was used for each color except brown, which used 1 ½ 50g skeins.
Brown – Paintbox Cotton Aran “Soft Fudge”
Orange – Yarn and Colors Epic “Bronze”
Green – Paintbox Cotton Aran “Spearmint Green”
Black – Paintbox Cotton Aran “Pure Black”
- Size E/3.5mm crochet hook
- Yarn needle
- Stitch marker
- Stuffing
- 2 safety eyes, 9mm
- 4 plastic doll joints, 20mm
Stitches/Abbreviations:
- magic ring
- ch – chain
- sc – single crochet
- sk – skip
- hdc – half double crochet
- sc2tog – single crochet 2 together
- invdec – invisible decrease
Gauge/Finished Size:
Although gauge is not essential when making amigurumi, it is important to have tight, even stitches. The Pumpkin Patch Bear measures about 7 1/2” from top to bottom when sitting and 10” when legs are outstretched.
Ears (make 2):
R1: Using brown, 6 sc in to a magic ring. (6)
R2: 2 sc in each st around. Ch 1. Turn. (12)
R3: Sc in each st across.
Fasten off, leaving long tail for attaching. Set aside.
Snout:
R1-R2: Using brown, repeat rounds 1-2 of ears. (12)
R3: (2 sc in each of next 3 sts, sc in next 3 sts) 2x around. (18)
R4-R5: Sc in each st around.
Fasten off, leaving long tail for attaching. Using black yarn and yarn needle, embroider a nose in the shape of a triangle with a line coming straight down. Set aside.
Head:
R1: Using brown, 6 sc into a magic ring. (6)
R2: 2 sc in each st around. (12)
R3: (Sc, 2 sc) 6x around. (18)
R4: (Sc in next 2 sts, 2 sc) 6x around. (24)
R5: (Sc in next 3 sts, 2 sc) 6x around. (30)
R6: (Sc in next 4 sts, 2 sc) 6x around. (36)
R7: (Sc in next 5 sts, 2 sc) 6x around. (42)
R8: (Sc in next 6 sts, 2 sc) 6x around. (48)
R9-R13: Sc in each st around.
R14: (Sc in next 7 sts, 2 sc) 6x around. (54)
R15-R16: Sc in each st around.
R17: (Sc in next 7 sts, invdec) 6x around. (48)
R18: (Sc in next 6 sts, invdec) 6x around. (42)
R19: (Sc in next 5 sts, invdec) 6x around. (36)
R20: (Sc in next 4 sts, invdec) 6x around. (30)
R21: (Sc in next 3 sts, invdec) 6x around. (24)
R22: (Sc in next 2 sts, invdec) 6x around. (18)
Attach snout onto the lower 1/3 of the head, adding a little stuffing underneath. Attach safety eyes between rounds 12 and 13, about 12 sts apart. Attach the ears so that top edge of ear is at round 5, with ears 8-9 sts apart (across top of head). Alternatively, you can wait to attach the ears until adding the hat to make sure they are perfectly lined up. Stuff the head.
R23: (Sc, invdec) 6x around. (12)
R24: Sc2tog until closed. Fasten off, using yarn needle to pull tightly through final stitches to close completely. Weave in end.
Pumpkin Body:
R1-R6: Using orange, repeat rounds 1-6 of head. (36)
R7: (Sc in next 4 sts, 2 hdc in each of next 2 sts) 6x around. (48)
R8: (Sc in next 4 sts, 2 hdc in each of next 4 sts) 6x around. (72)
R9: (Invdec, sc in next 10 sts) 6x around. (66)
R10: (Invdec, sc in next 9 sts) 6x around. (60)
R11-R16: Sc in each st around.
R17: (Invdec, sc in next 8 sts) 6x around. (54)
R18: (Invdec, sc in next 7 sts) 6x around. (48)
R19: Sc in each st around.
R20: (Invdec, sc in next 6 sts) 6x around. (42)
R21: Sc in each st around.
R22: (Invdec, sc in next 5 sts) 6x around. (36)
R23: (Invdec, sc in next 4 sts) 6x around. (30)
R24: (Invdec, sc in next 3 sts) 6x around. (24)
R25: (Invdec, sc in next 2 sts) 6x around. (18)
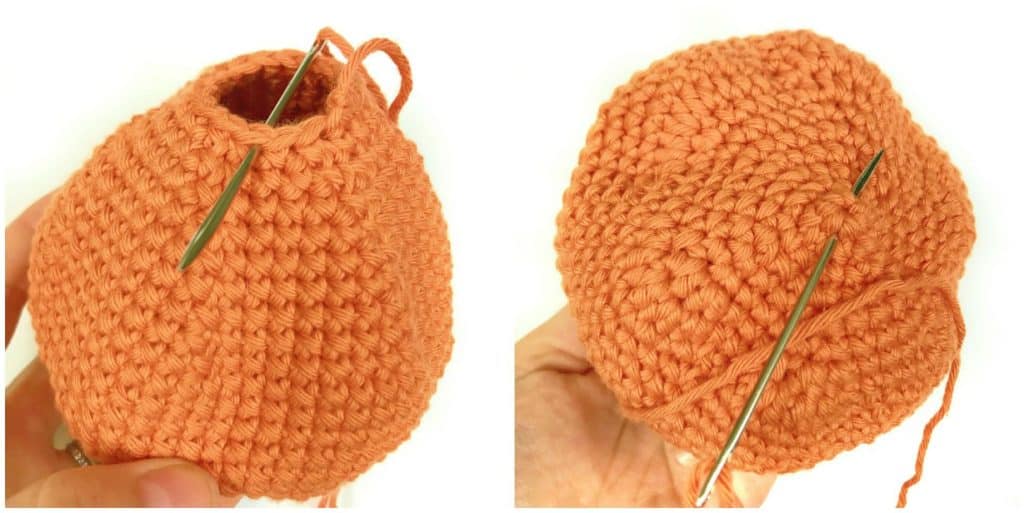
Fasten off, leaving very long tail (wrap loosely around pumpkin six times before trimming).
If you turn your pumpkin body upside-down, you’ll see that there are six curves and six indentations around its base. Use your yarn needle to bring yarn under a stitch from round 25 over the first indentation, then tack down by weaving under the initial magic ring at pumpkin base. Bring yarn back up and over the indentation on the opposite side. Repeat twice more, spacing grooves evenly every 3 stitches of round 25. Leave unstuffed for now.

Arms (make 2):
Stuff lightly as you go.
R1-R3: Using brown, repeat rounds 1-3 of the head. (18)
R4: Sc in each st around.
R5: (Sc in next 4 sts, invdec) 3x around. (15)
R6: Sc in each st around.
R7: (Sc in next 3 sts, invdec) 3x around. (12)
R8-R16: Sc in each st around.
Insert plastic joint between rounds 14 and 15 and finish stuffing to desired fullness.
R17: (Sc, invdec) 4x around. (8)
Use yarn needle to pull through final stitches tightly into a ring, then fasten off securely.
Insert arm joints into opposite sides of body, lined up with “grooves”, about three rows down from the top round of the pumpkin body. Secure arm joints from the inside.
Legs:
Stuff lightly as you go.
R1-R3: Using brown, repeat rounds 1-3 of the head. (18)
R4: (2 sc in each of next 3 sts, sc in next 6 sts) 2x around. (24)
R5: Sc in each st around.
R6: (Sc in next 2 sts, invdec) 6x around. (18)
R7: Sc in next 6 sts, invdec 3x over next 6 sts, sc in last 6 sts. (15)
R8-R18: Sc in each st around.
R19: (Sc in next 3 sts, invdec) 3x around. (12)
R20: Sc in each st around.
Insert plastic joint between round 18 and 19 and finish stuffing to desired fullness. Make sure the stems of the joints face towards the body.
R21: (Sc, invdec) 4x around. (8)
Use yarn needle to pull through final stitches tightly into a ring, then fasten off securely. Insert leg joints into opposite sides of the body, directly below arms, about 15 rows down from the top round of the pumpkin body. Secure leg joints from the inside.
Stuff pumpkin body and use yarn needle and brown yarn to attach head.
Pumpkin Hat
Hat begins with green stem.
R1: Using green, 5 sc in a magic ring. (5)
R2-R4: Sc in each st around.
R5: Using orange, 2 sc in each st around. (10)
R6: (Sc, 2 sc) 5x around. (15)
R7: (Sc in next 4 sts, 2 sc) 3x around. (18)
R8: (Sc in next 2 sts, 2 sc) 6x around. (24)
R9: (Sc in next 3 sts, 2 sc) 6x around. (30)
R10: Sc in next 9 sts, ch 8, sk 2 sts, sc in next 8 sts, ch 8, sk 2 sts, sc in last 9 sts. (42, including ch sts)
R11: Sc in each st around, including ch sts. (42)
R12: (Sc in next 6 sts, 2 sc) 6x around. (48)
R13: Sc in each st around.
Vine: Ch 8. 2 sc in 2nd ch from hook and in each ch across. (14) Twist into spiral as you go. Attach near stem on hat.
Weave in all ends. Place hat on bear’s head with ears poking through.
I love seeing your work, so if you share pictures of your bear on Instagram, make sure and use the hashtags #PumpkinPatchBear or #CrochetToPlay. I hope you enjoyed making the Pumpkin Patch Bear with me!
Looking for more free crochet patterns? Take a look here!
© 2024 Crochet to Play
All rights reserved. Designed and written by Jennifer Percival. This pattern is property of Crochet to Play. The written pattern and images are for personal use only. Please do not redistribute, transfer, or sell the pattern or images, in part or in whole. Thank you.
Mil gracias por enseñarnos tsn lindos proyectos!
Love your adorable pumpkin bear! Thank you for the free instructions! Best of luck on your new website! I love the Noah’s Ark pattern, too.
This bear is beautiful! Best of luck on your blog!
Much luck on your new adventure in blogging!
Thanks for the cute free pattern too!!
Yay1 the start of something amazing!
Congrats!! Website looks awesome friend!
How absolutely adorable!! I am so excited that you have joined the blogging world! Woohoo!
Your website looks amazing, and this darling pumpkin bear couldn’t be sweeter!
Thank you friend! 🙂
Congrats, Jennifer! I’m so excited for you! Welcome to blogging! You’re going to be amazing at this! Such a cute pattern to start with!
Thank you so much and for all your support!
Fabulous. Enjoy your new venture x
Thank you Ruth!
Congratulations on both your new pattern and your new blog! Best of luck to you on your new adventure!
Thank you so much! I appreciate the support. 🙂