How to Decrease in Single Crochet
New to crochet? You may have learned how to chain and single crochet, and if so, there are plenty of crochet patterns you can already follow. As you do, you may come across directions telling you to “single crochet 2 together” or “single crochet decrease”. These are often abbreviated as “sc2tog” or “sc dec”.
A single crochet decrease is used to combine two stitches into one, so that the row or round you’re working on ends up with fewer stitches than the previous row or round. Each basic crochet stitch has a corresponding decrease stitch, so once you’ve learned how to sc2tog, you can apply the same concept when learning how to decrease in half double crochet, double crochet, and so on. Decrease stitches are often used for shaping projects like hats, toys, or even making interesting patterns, like chevrons in blankets. Decrease stitches can be used either flat or in the round.
This post contains affiliate links to products I recommend to my readers. If you click on one of these links and decide you’d like to make a purchase, I will make a small commission (at no extra cost to you).
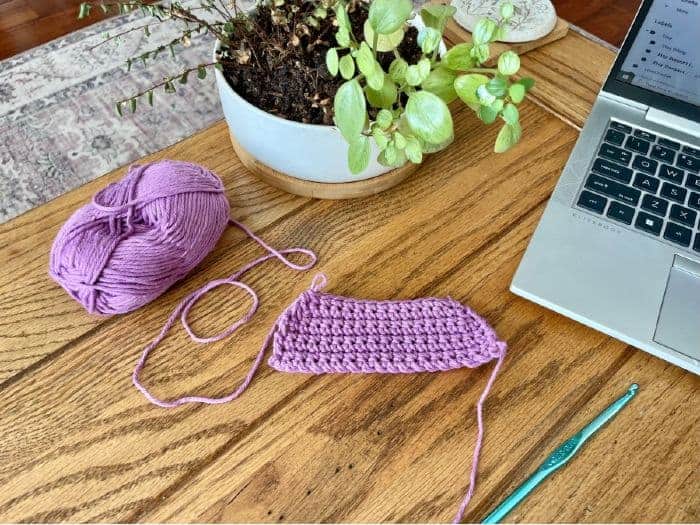
Let’s practice the single crochet decrease using the steps outlined below. Whenever you’re learning a new stitch, I recommend using worsted weight yarn in a light color and a larger hook, such as size I/5.50mm. Using light yarn and a bigger hook can help you to see what you’re doing more clearly and help you notice if you’ve made any mistakes along the way.
How to Single Crochet Decrease
Step 1: Begin with a Row of Single Crochet Stitches
Make a slip knot and chain 19. Then, single crochet (sc) into the 2nd chain from the hook and in each chain across. This will give you 18 stitches.
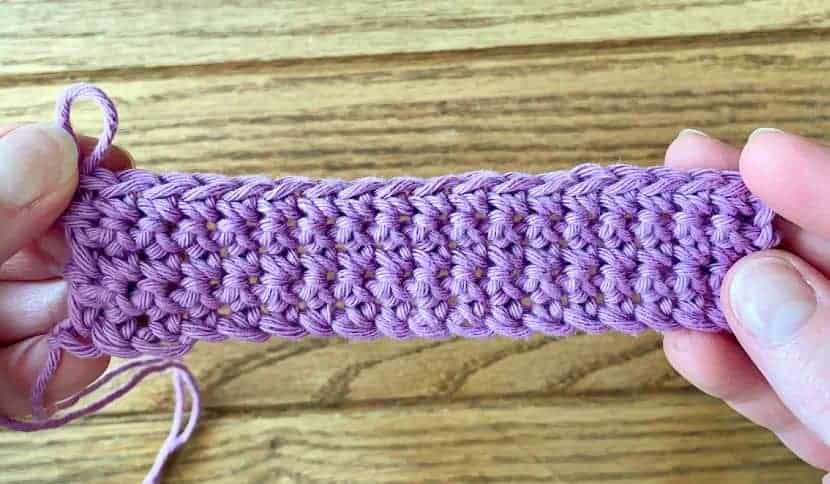
Step 2: Single Crochet in Rows
Single crochet for a few rows, remembering to make a turning chain of 1 at the end of each row. For this demonstration, I’ve completed 5 rows, so that it will be easier to see the difference when we eliminate some stitches through single crochet decreases.
Step 3: Make Your First Single Crochet Decrease
We’ll make our decrease stitches at the beginning and end of each following row so you can see how the fabric begins to narrow.
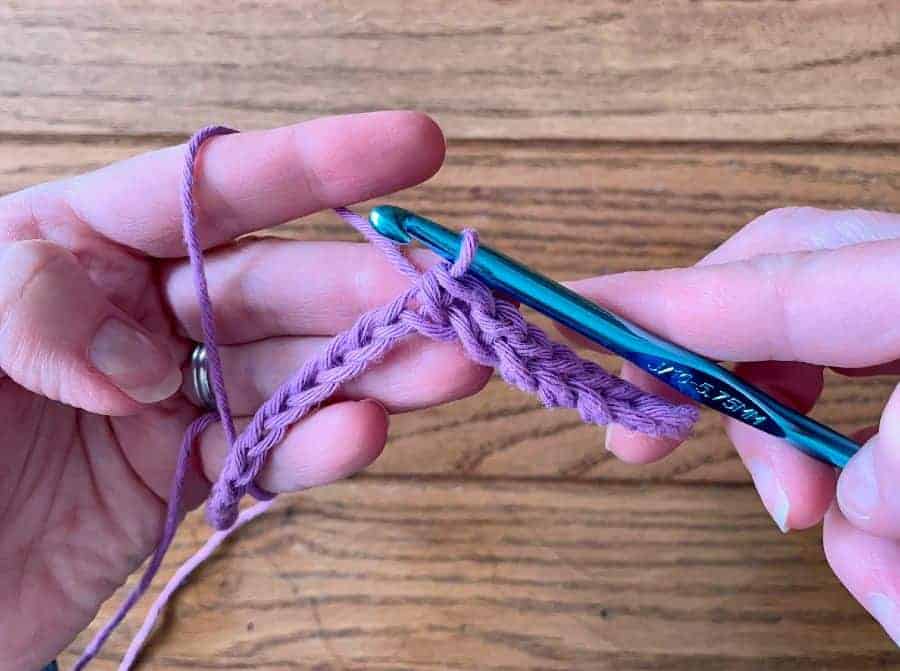
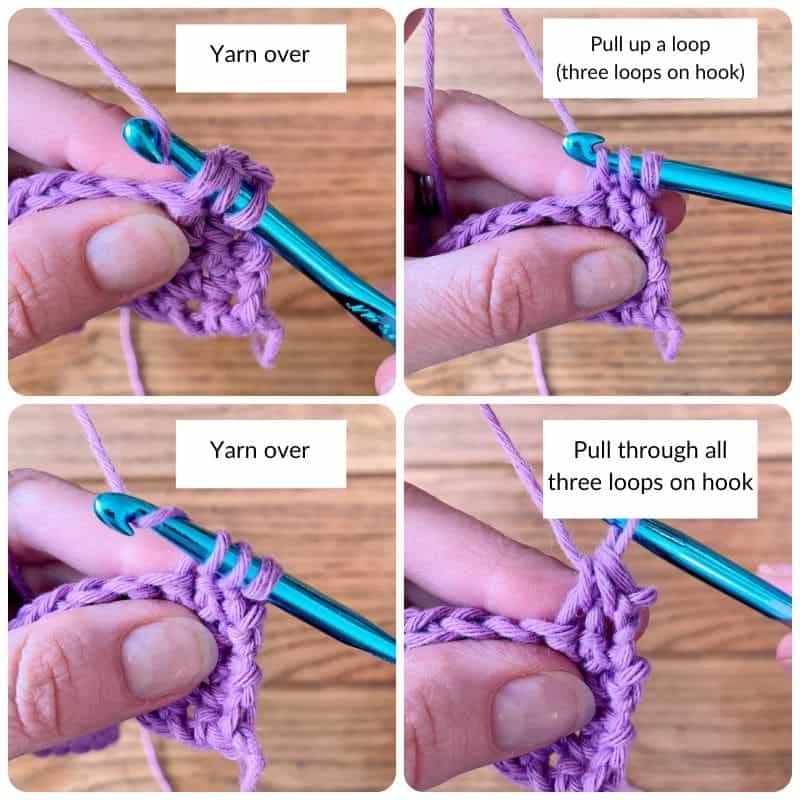
After your last row from Step 2 above, chain 1 and turn. Now, insert your hook into the next stitch and yarn over, as though you’re beginning to single crochet. Pull up a loop (you’ll now have two loops on your hook). With two loops still on your hook, insert the hook into the next stitch.

Then yarn over, and pull up a loop. You’ll now have three loops on your hook. Yarn over for the last time, and pull through all three loops on the hook. This completes one single crochet decrease.
Step 4: Count Your Stitches
Let’s finish this row and count our stitches.
Work 14 regular single crochet stitches across the row. Then, work another sc2tog stitch into the last two stitches. As you decrease, the number of stitches in the row will decrease as well. When you’re following a specific pattern, it is important to keep track of your stitch count as you go.
Since we started this row with 18 stitches, then worked two sc2tog stitches, we’ve reduced our stitch count by two. Count your stitches and make sure your new total is 16.
Step 5: Keep Practicing
Let’s practice a couple more rows to get the hang of this.
Chain 1, and turn. Then work 1 sc2tog, 12 sc, and 1 sc2tog across the row. Your stitch total should be 14. Chain 1, and turn. Then work 1 sc2tog, 10 sc, and 1 sc2tog across the next row. The stitch total for this row should be 12.
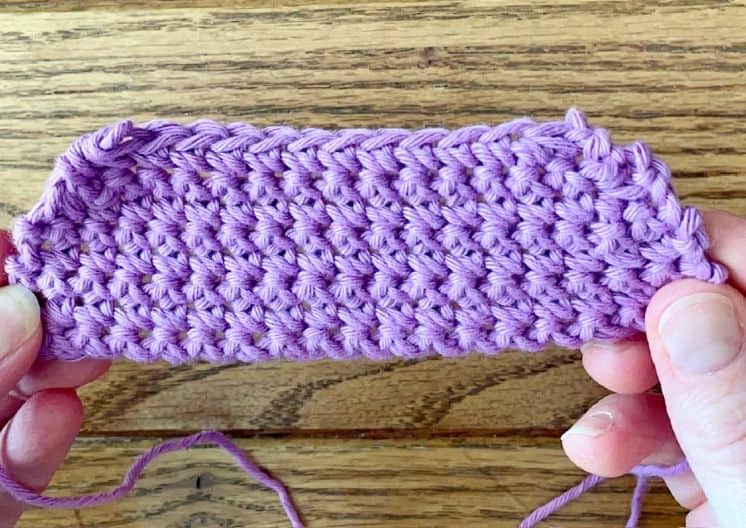
Can you see the mathematical pattern? Since each decrease combines two stitches into one, each decrease will subtract 1 stitch from your total. Crochet is fundamentally mathematical, and the more you learn the more you’ll see it! In this photo, you can see how the shape of the fabric we’ve made angles inward with each decrease row.
Well done learning a new crochet skill that you can apply to many new patterns! If you’d like to keep practicing, try watching this video by CreatiKnit.
Let me know if you have any questions in the comments. You can learn about more stitches and crochet techniques by visiting these Stitch Tutorials and Resources as well. Happy stitching!
Keep this tutorial handy on Pinterest by saving here!

© 2023 Crochet to Play
All rights reserved. This blog is property of Crochet to Play. The writing and images are for personal use only. Please do not redistribute, transfer, or sell the writing or images, in part or in whole. Thank you.