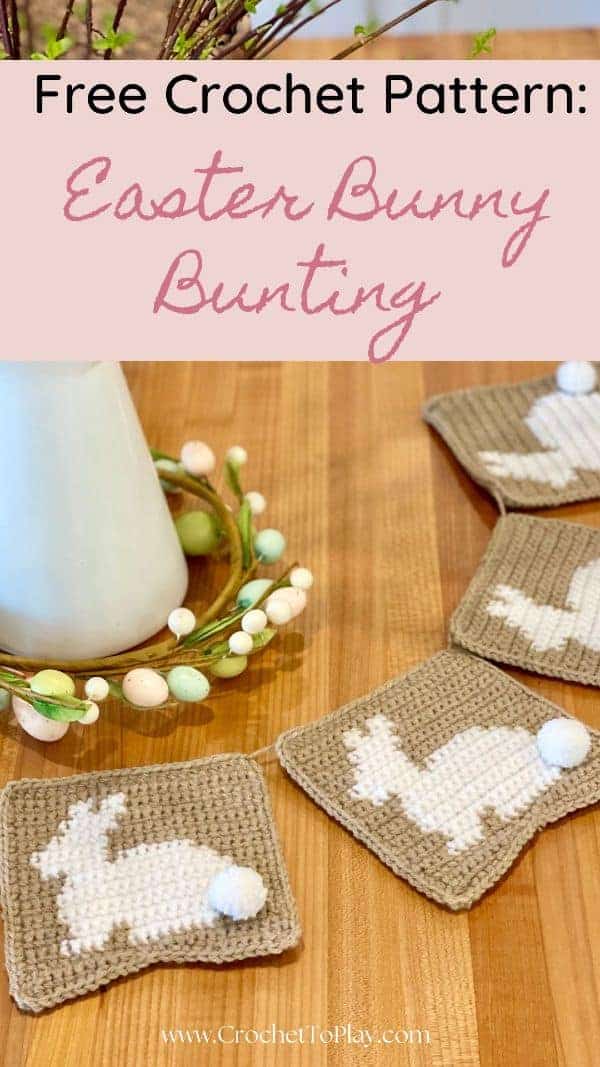
Crochet Easter Bunny Garland: Free Bunting Pattern
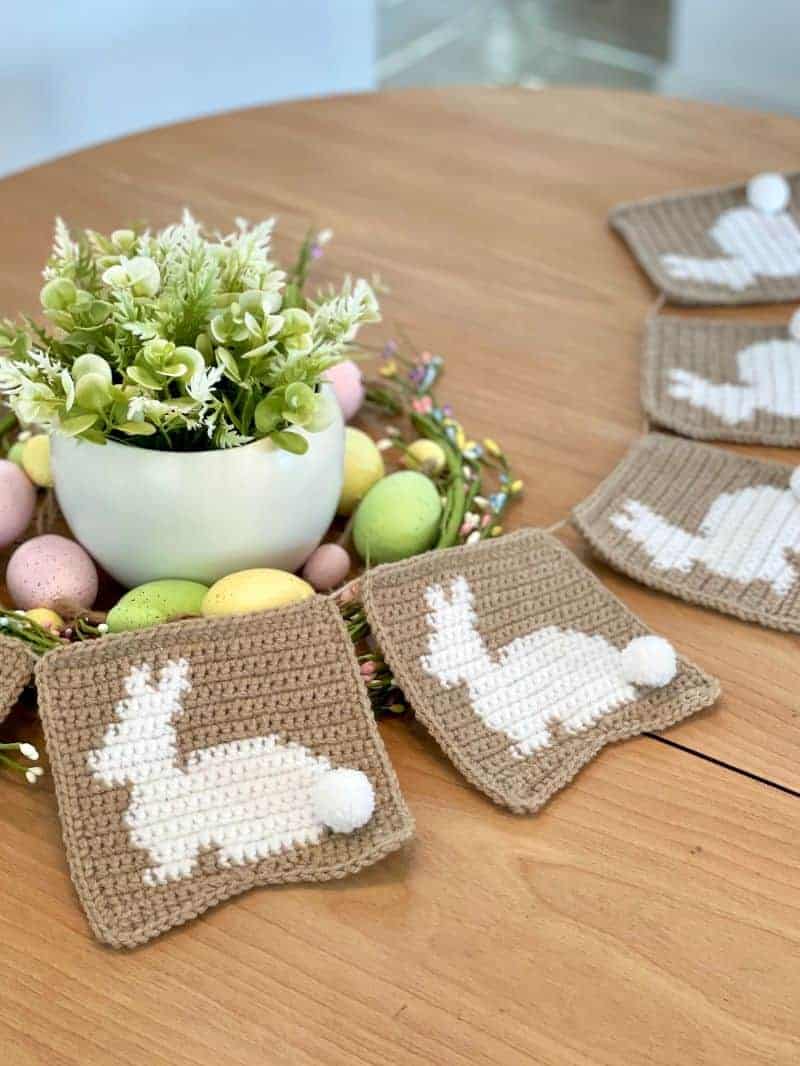
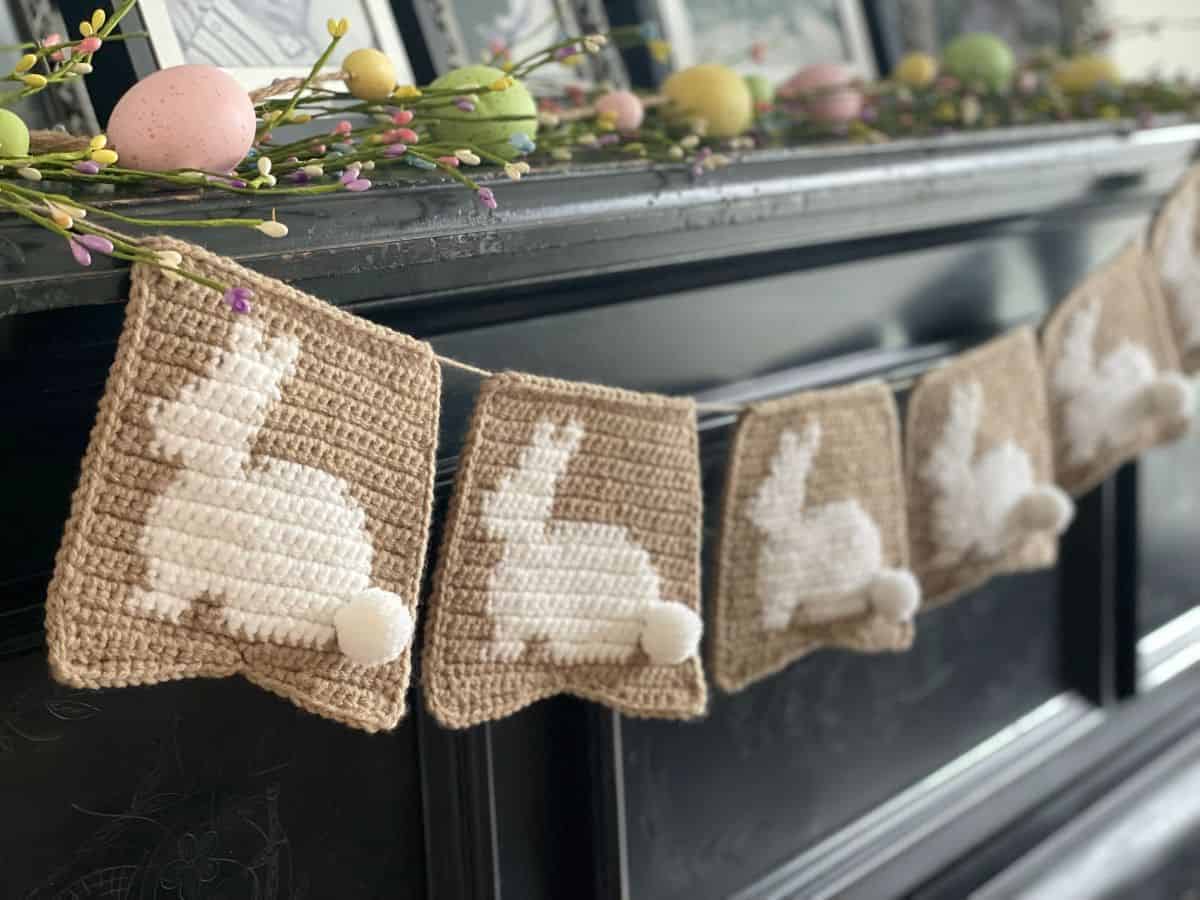
If you want to add some springtime charm to your house, you’ll love this crochet Easter bunny garland. It has the look of a vintage bunting, with the silhouettes of crochet bunnies and their fluffy tails all hanging in a row.
I like to do a little decorating for Easter each year, and I thought having a garland that looked like burlap (but was actually crochet!) would be really cute. With bunnies, of course. Using contrasting yarn colors gave me just the look I wanted.
If you have experience with colorwork crochet, you’ll pick this pattern right up. But if not, don’t worry. The free pattern below will walk you through it.
This post contains affiliate links to products I recommend to my readers. If you click on one of these links and decide you’d like to make a purchase, I will make a small commission (at no extra cost to you).
Tips for Getting Started
To make this Easter Bunny Bunting, you’ll use a technique called tapestry or colorwork crochet.
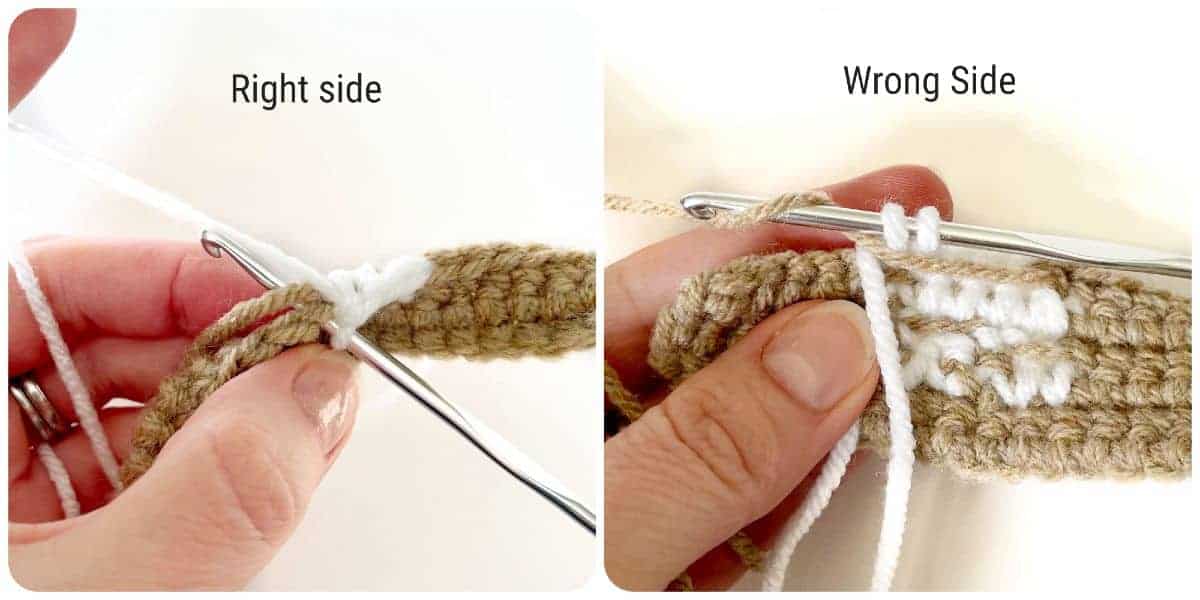
With this technique, you work with more than one color at a time, and alternate between them. There is a right side and a wrong side of the work, with the bunny design on the right side and the yarn carried behind on the wrong side.
If this technique is new to you, don’t be intimidated. I’ll explain more as we go and you’ll have it down in no time. This video tutorial by Happily Hooked is also super helpful if you’re new to colorwork.
The pattern below gives written directions for each row of the bunting panel. If you’d like the extra support of a colorwork chart as well as additional photos, you can find the premium version of this pattern on Ravelry or Etsy. The premium pattern has more step-by-side support in a printable PDF.
Crochet Easter Bunny Garland Pattern
Materials Used:
- Yarn – worsted weight yarn in tan and white (yarn pictured is “I Love This Yarn” in White and “Yarn Bee Yarn ID” in Fawn. Another option: 24/7 Cotton in White and Taupe)
- Size E/3.5mm crochet hook
- Yarn Needle
- Blocking board and straight pins
Stitches/Abbreviations Used:
- ch – chain
- R – row
- st/sts – stitch/stitches
- RS – right side
- WS – wrong side
- sl st – slip stitch
- sc – single crochet
- hdc – half double crochet
- sk – skip
Finished Size:
Each bunny bunting panel pictured measures 5 1/2″ wide x 5 3/4″ long.
Gauge – 20 rows x 18 stitches = 4″.
Pattern Notes:
This pattern has colorwork between tan and white yarn. This style of colorwork, called tapestry crochet, requires switching between colors without fastening off. There is a right side and a wrong side of the pattern (marked in each row). The right side of the work will show the bunny image and the wrong side will hide your color changes.
When working on the right side, I recommend carrying the tan yarn behind your stitches and crocheting over it when crocheting with the white yarn. Then, when working on the same right side but crocheting in tan, I recommend dropping the white, only picking it up when needed.
When working on the wrong side, I recommend dropping the yarn you’re not using until you need it. Then, pick it up, allowing the extra yarn to float behind your stitches
Each bunting panel is worked upside down, followed last by the bunting points.
Crochet Easter Bunny Garland Pattern:
Using fawn (tan), ch 25.
R1 (RS): Sc in 2nd ch from hook and in each across. Ch 1, turn. (24)
R2 (WS): Sc in each st across. Ch 1, turn.
Bunny Colorwork
The colorwork between tan and white begins in row 3 and continues through row 22. You will alternate between colors as you single crochet in each st across (24 sts total in each row). Color changes are as marked.
R3 (RS): 6 sc in fawn, 2 sc in white, 1 sc in fawn, 2 sc in white, 13 sc in fawn. Ch 1, turn.
R4 (WS): 13 sc in fawn, 2 sc in white, 1 sc in fawn, 2 sc in white, 6 sc in fawn. Ch 1, turn.
R5 (RS): 6 sc in fawn, 5 sc in white, 13 sc in fawn. Ch 1, turn.
R6 (WS): 14 sc in fawn, 5 sc in white, 5 sc in fawn. Ch 1, turn.
R7 (RS): 5 sc in fawn, 5 sc in white, 14 sc in fawn. Ch 1, turn.
R8 (WS): 15 sc in fawn, 5 sc in white, 4 sc in fawn. Ch 1, turn.
R9 (RS): 3 sc in fawn, 6 sc in white, 15 sc in fawn. Ch 1, turn.
R10 (WS): 15 sc in fawn, 7 sc in white, 2 sc in fawn. Ch 1, turn.
R11 (RS): 2 sc in fawn, 7 sc in white, 15 sc in fawn. Ch 1, turn.
R12 (WS): 7 sc in fawn, 7 sc in white, 1 sc in fawn, 6 sc in white, 3 sc in fawn. Ch 1, turn.
R13 (RS): 5 sc in fawn, 13 sc in white, 6 sc in fawn. Ch 1, turn.
R14 (WS): 5 sc in fawn, 14 sc in white, 5 sc in fawn. Ch 1, turn.
R15 (RS): 4 sc in fawn, 16 sc in white, 4 sc in fawn. Ch 1, turn.
R16 (WS): 4 sc in fawn, 16 sc in white, 4 sc in fawn. Ch 1, turn.
R17 (RS): 4 sc in fawn, 16 sc in white, 4 sc in fawn. Ch 1, turn.
R18 (WS): 4 sc in fawn, 16 sc in white, 4 sc in fawn. Ch 1, turn.
R19 (RS): 4 sc in fawn, 15 sc in white, 5 sc in fawn. Ch 1, turn.
R20 (WS): 5 sc in fawn, 14 sc in white, 5 sc in fawn. Ch 1, turn.
R21 (RS): 5 sc in fawn, 3 sc in white, 2 sc in fawn, 8 sc in white, 6 sc in fawn. Ch 1, turn.
R22 (WS): 6 sc in fawn, 8 sc in white, 2 sc in fawn, 4 sc in white, 4 sc in fawn. Ch 1, turn
R23 (RS): 24 sc in fawn. Ch 1, turn.
Trim white yarn, leaving a tail and weaving in on the wrong side. Do not trim tan yarn.
Bunting Points
The “points” of the bunting begin in row 24. You will work in partial rows before fastening off, then repeat the same stitches on the other side (noted below as the matching partial rows).
R24 (WS): 12 sc. Leave remaining sts unworked. Turn without chaining 1.
R25 (RS): Sk 1 st, 2 sl sts, 7 sc, 2 hdc. Ch 2, turn.
R26 (WS): 2 hdc, 4 sc, 2 sl sts. Leave remaining sts unworked. Fasten off, weaving in end.
Matching partial rows:
R1 (RS): Holding work upside down, with right side facing you, return to R23. Attach yarn with a sl st to the furthest right st of R23. Ch 1, and sc in that same 1st st and in remaining 11 unworked sts. Turn without chaining 1.
R2 (WS): Sk 1 st, 2 sl sts, 7 sc, 2 hdc. Ch 2, turn.
R3 (RS): 2 hdc, 4 sc, 2 sl sts. Leave remaining sts unworked. Sc evenly around entire shape. Fasten off, weaving in ends.
Final Steps
After you’ve finished making your bunting panels, I highly recommend blocking them. This will prevent the individual crochet panels from curling up around the edges and give each panel a finished look.
To block my panels, I sprayed them with water, then pinned them to a foam board until they were completely dry. Next, I made little pom-poms with my white yarn and attached them to each bunny’s backside. This video By GiddyUp Workshop gives a great tutorial on making small pom-poms.
To string the panels up, I used my tan yarn and wove it through the tops of the panels. Then I hung them up (across our family piano) and added some extra Easter decorations above them.
I hope you’ve enjoyed this free crochet Easter bunny garland pattern! I know it’ll get lots of compliments at Easter and will make you smile for years to come.
Looking for more free Easter patterns? Head here and take a peek.
No time to crochet today? Save this post on Pinterest for later!
© 2026 Crochet to Play
All rights reserved. Designed and written by Jennifer Percival. This pattern is property of Crochet to Play. The written pattern and images are for personal use only. Please do not redistribute, transfer, or sell the pattern or images, in part or in whole. Thank you.