Amigurumi Tips & Tricks
This post contains affiliate links to products I recommend to my readers. If you click on one of these links and decide you’d like to make a purchase, I will make a small commission (at no extra cost to you).
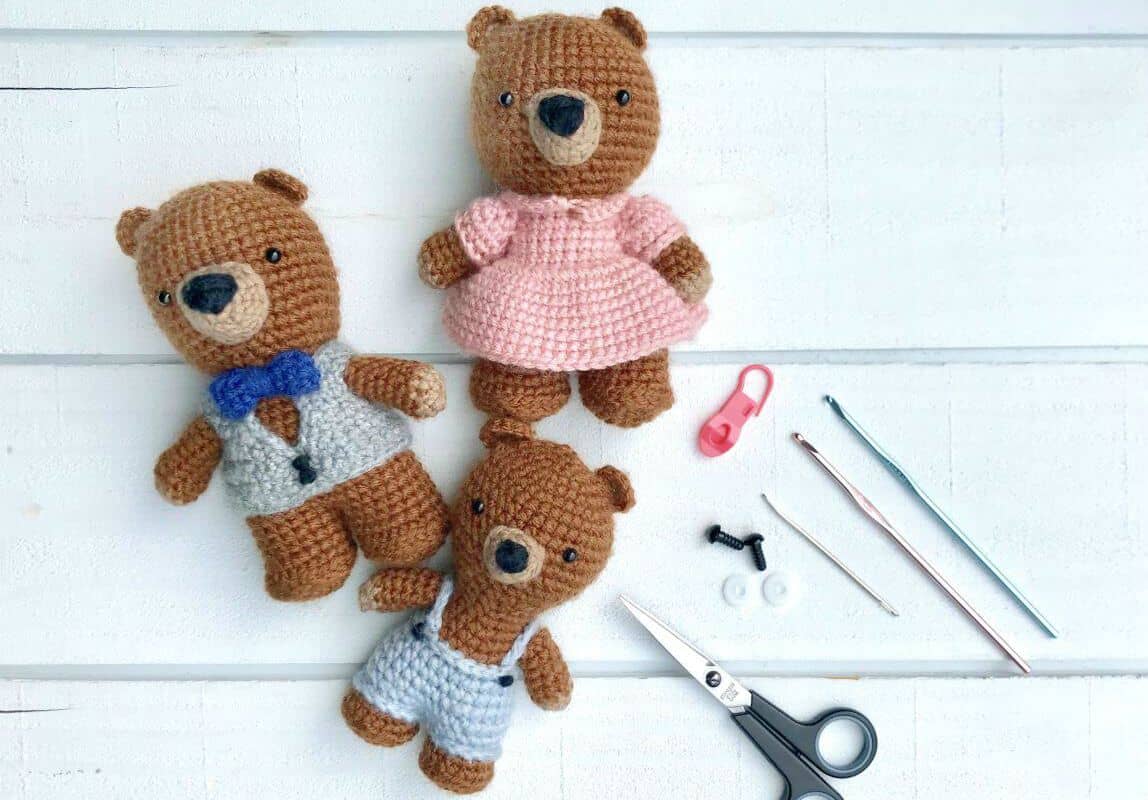
Are you new to amigurumi or do you want to improve your skills? Are you just wondering what in the heck it is? Amigurumi is the art of knitted or crocheted toys, usually small stuffed animals, dolls, or objects. These projects are SO adorable but definitely require their own skill set. Try these tips to up your amigurumi game!
Tip #1:
Use the Right Tools
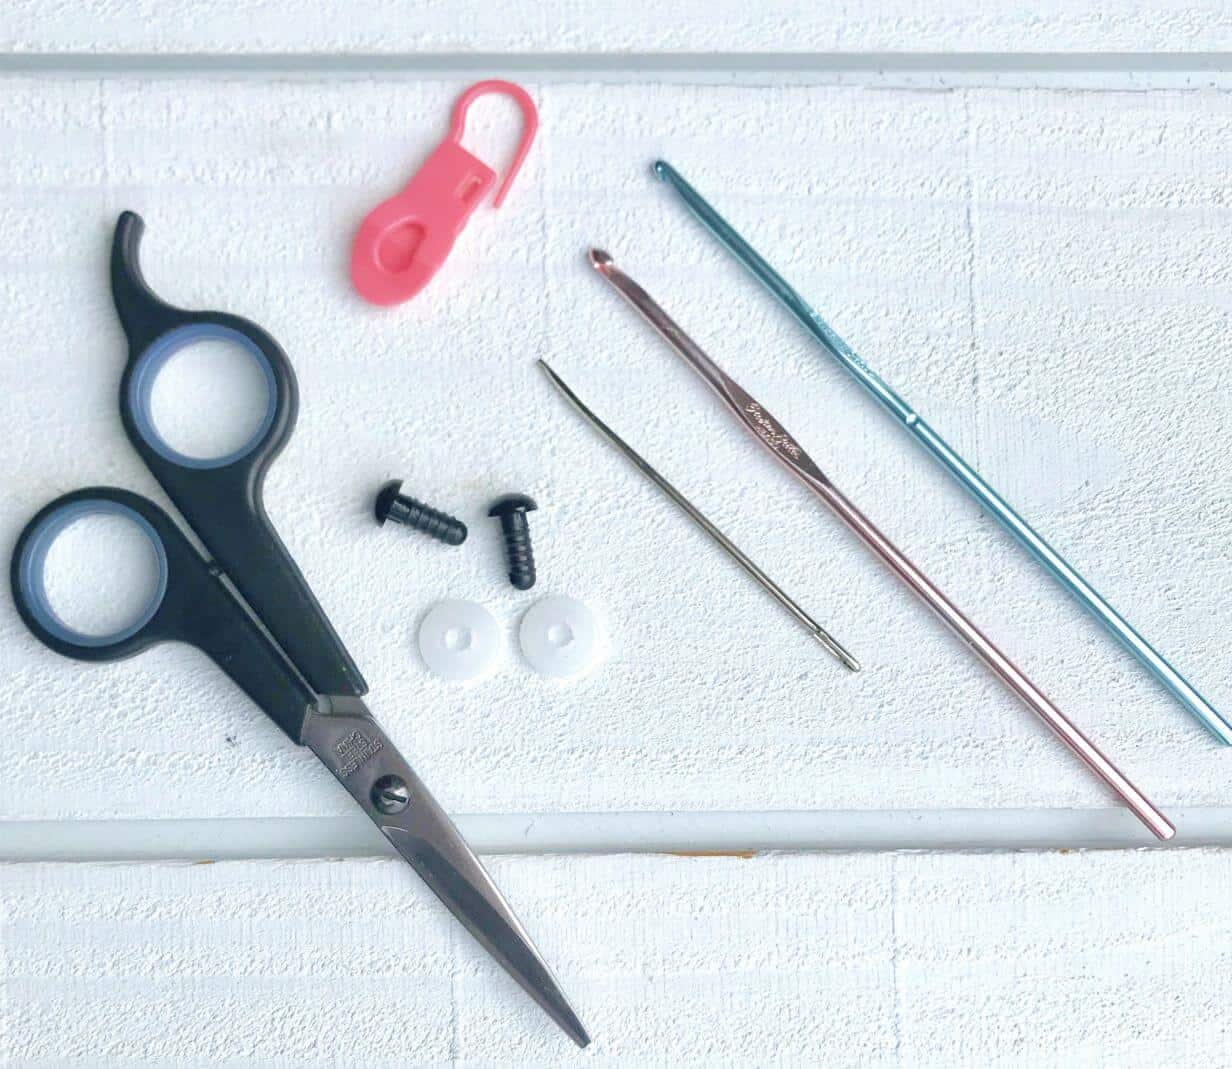
First things first – every job is easier when you’re using the right supplies. If you’re going to begin an amigurumi project, you’ll want to make sure to have these things on hand.
Stitch markers
Most amigurumi is worked in a spiral. You don’t join your rounds. Instead, you begin each new round in the first stitch of the previous round. Stitch markers keep your place so you know exactly where each new round begins.
Small crochet hooks
Amigurumi patterns often call for hook sizes that are much smaller than the size that may be recommended on your yarn label. This is because you need tight, even stitches when you’re going to stuff the inside of a toy. Make sure you have hooks you like in smaller sizes (I use size D/3.25mm or E/3.5mm most often).
Bent-tipped yarn needles
If I could recommend just one tool to you, this would be it! Many amigurumi patterns require you to sew pieces into place, like arms and legs. When you use a needle with a bent tip, you can manuever the needle more precisely as you’re sewing and get a better finished look. These bent-tipped needles from Clover are good ones to try.
Safety eyes
When you’ve worked this hard on a project, you don’t want something like the eyes falling out! Enter safety eyes. They come in a huge range of sizes and styles. Each eye has a “spoke” that sticks between the stitches and a backing that snaps on from the inside of your piece. But be careful! Once you snap that backing on, it’s not coming off, so make sure you’ve gotten your eye placement just right. I like the simple, black 9mm safety eyes that Darice offers here.
Poly-fil stuffing
There are lots of options people use when stuffing their amigurumi toys, but my preference is Poly-fil. It’s soft, washable, and doesn’t bunch up like some stuffings do. You can stuff firmly with this material and there’s still enough give for a toy to be huggable. I always buy the big bags like this because you need more stuffing that you think!
Tip #2
Practice Your Tension

All crocheters benefit from even tension, but it is especially important in an amigurumi project. The finished look of your toy depends on how even your stitches are. Leaving big gaps can result in stuffing poking through, and uneven tension can leave you with arms and legs that should match but are different lengths. Practice getting even tension, working for consistency in the way you hold your yarn and hook and the way you glide your yarn as you go. There’s no “right” way to hold your yarn, only what’s comfortable for you. Experiment with different holds until you find what you like. Practice your tension for amigurumi using a smaller hook until you’ve got some consistency.
Tip #3
Learn the Right Techniques
There are two crochet techniques I use EVERY time I make amigurumi! They are the magic ring (or magic circle) and the invisible decrease. Once you master these two techniques your work will look like you’ve been crocheting amigurumi for years.
Magic Ring
When you crochet in the round, there are two ways to get started – working a small number of chain stitches and crocheting into the middle or beginning chain, or working into a magic ring. A magic ring is an adjustable loop that, when tightened, closes completely and leaves your first round of stitches neatly in a circle. If you’re still learning the magic ring, you may find this video by Kristi Tullus helpful.

Invisible Decrease
Amigurumi consistents almost solely of single crochet stitches. Traditionally, a decrease is performed by using the single crochet 2 together (or sc2tog) stitch. However, using this stitch in amigurumi leaves larger gaps than necessary. The invisible decrease (or invdec) is a nice alternative that leaves a very smooth result. To work the invisible decrease, you insert your hook under the front loops of the next two stitches in your round, then yarn over, draw up a loop through both stitches and yarn over again, pulling through both loops on your hook. This video by June Gilbank explains the invisible decrease well.

Tip #4
Change Colors Smoothly
If you need to change colors while working in the round, you can do this cleanly by drawing up the last loop in the last stitch of the first color with your new color. This video by June Gilbank is a good example of this technique.

Tip #5
Attach Pieces with Skill
Depending on how you look at it, I’ve saved the best or worst amigurumi tip for last. Most people I know who love amigurumi still hate attaching pieces together! It’s usually the last step and SO important. Carefully placing things like ears, arms, and legs can make all the difference in your project.
Like I mentioned earlier, using a bent-tipped needle can help a lot with this process, but it’s also important to learn techniques to properly sew pieces to each other. I use the whip stitch most often. This video by Kristi Tullus explains the whip stitch. She also has this video about the mattress stitch which gives a very clean look as well. The most important advice I can give is to take your time when attaching pieces – pin things into place first, look at your piece from multiple angles, and then carefully attach.
You’re ready!
Now that you’ve read through and maybe tried a few of these tips, you’re ready for any amigurumi pattern that inspires you (check out the free patterns on the blog to get started!). Save these amigurumi tips on Pinterest so you can reference them anytime you need them and enjoy the world of crochet toys!
Want to keep this guide handy? Save it to Pinterest!

© 2023 Crochet to Play
All rights reserved. This blog is property of Crochet to Play. The writing and images are for personal use only. Please do not redistribute, transfer, or sell the writing or images, in part or in whole. Thank you.
Flexoffers
I found that very helpful thank you but please can you tell me what it means by “Frequent Needle” I have searched everywhere but cannot find it. The only thing I can find is that it is used in Amigurumi but it doesn’t tell you how to use that method. Thank you. Kath.
I’m not familiar with the term “frequent needle” either. I use bent-tipped yarn needles (sometimes called tapestry needles) and highly recommend them. Sorry I’m not sure about the other though!
Thank you!! Great tips!!
pinned for reference – great tips. The invisible decrease is a game changer!
Great tips, Jennifer! I’ve pinned it to a couple boards to share with others!